
Okay, over the years I’ve tweaked and simplified how I make peppermint bark, and I think I’ve finally just about perfected it! It is so simple and always a crowd pleaser.

This takes only three ingredients and very little time and effort.

For a double batch (2 cookie sheets full), you will need 1-1/2 bags of Andes mint baking chips, 3 bags of white chocolate chips (I love Hershey’s or Ghiradelli brands… I avoid Nestle brand chips like the plague: they taste awful to me for some reason…), and a 12-pack of candy canes.
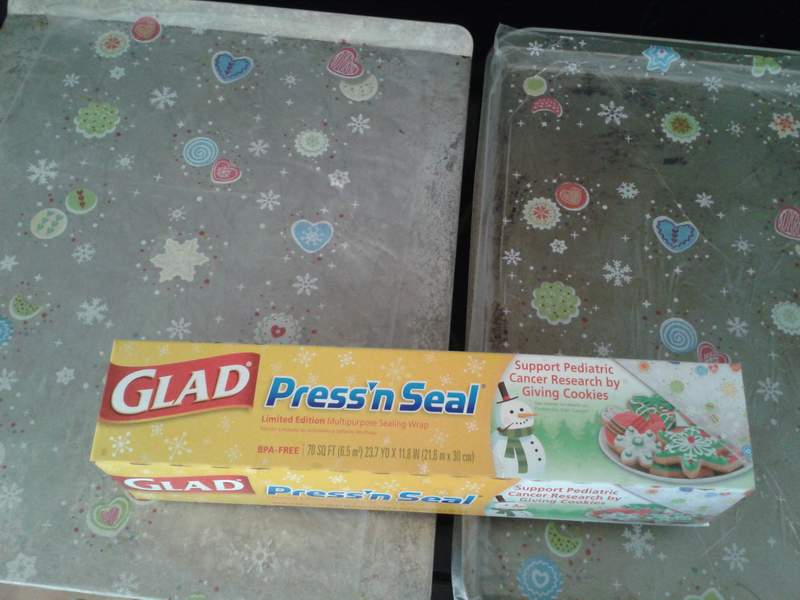
Line two cookie sheets with Glad Press’n Seal. It does not matter if the cookies sheets are flat or have a lip, and you can even use a casserole dish if you prefer.
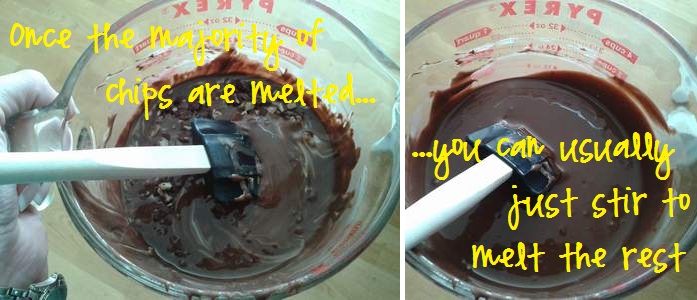
Melt about 1-1/2 bags of Andes mint baking chips (about 3 minutes at 50% power in the microwave, stir once or twice during melting).

Pour about half of the melted chips onto each lined cookie sheet, and spread into a smooth, thin layer (I use a silicone spatula to spread). Put the cookie sheets in the fridge or freezer to firm while you move on to the next step.
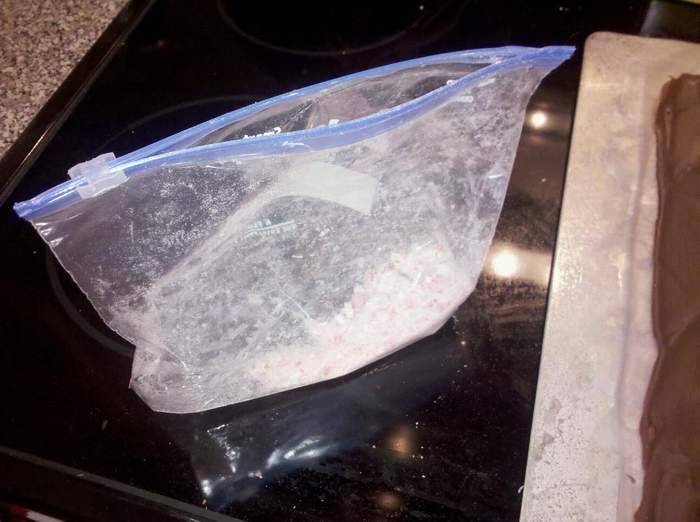
Put six candy canes double bagged in two ziplocs with the air pressed out, then go at them with a hammer to crush them to bits. This is an excellent way to include your kids! My boys love wielding a hammer! I usually do this in the garage or outside and with the bag in between my folded-in-half rubbery cookie mat (because although the candy cane bits will stay mostly in your bags, the shattered candy canes will cut your ziploc bags and can make a dusty, sticky, pepperminty mess).

Next, melt 1-1/2 bags white chocolate chips PER SHEET (so 3 bags total for this double batch). You might need to melt half a bag at a time of the white chips, melting at about 30 second intervals and stirring. Do NOT overcook/melt the white chips or they will turn thick and gloppy or–worse–brown and yucky.
Spread white choc over mint chocolate layer. Don’t panic if you get a little swirling from the white layer melting and mixing with the bottom layer, but try not to overwork it for look’s sake. Then immediately sprinkle the candy canes over the top–they will stick to the melty white layer. Then put the cookie sheet back in the fridge or freezer to harden while you repeat the white and candy cane layer steps for the other cookie sheet.

Once the bark is hardened (doesn’t take long at all), hand-break them into pieces.

Then eat! Yummo!

This peppermint bark is easy, delicious, and highly addictive. So make a lot, then share with everyone–family, teachers, co-workers, neighbors, friends!
And if you give this recipe a whirl, I’d love to hear how it goes for you. Do tell!


Yum! Will definitely give this recipe a shot! I use the same method of crushing candy canes by the way!
Zhenya
http://beingzhenya.com
LikeLike
Mmmm… peppermint bark. One of my favorites!!
LikeLike
Can I use parchment paper instead of the Glad seal? It’s what I already have on hand. :~) Sounds DANGEROUSLY yummy! :~)
LikeLike
I think it would work very well on parchment paper–just something you can lift easily for the break-apart step. 🙂
LikeLike
I am SO doing this, looks yummy and it’s colorful, nice for giving; thank you!
LikeLike
Thanks for the recipe! My daughter and I had fun making AND eating this, lol. Taking it to our church Christmas Pageant tonight.
LikeLike
Oh, I’m so thrilled you made it and are sharing it! I took it to our church connect group party last night and was very glad to come home with an empty dish: the mark of success!! 😉
LikeLike
Pingback: Another Fab Teacher Gift {and links} | CampClem·
Pingback: Super Easy, Insanely Delicious Homemade Peppermint Bark {updated} | CampClem·