
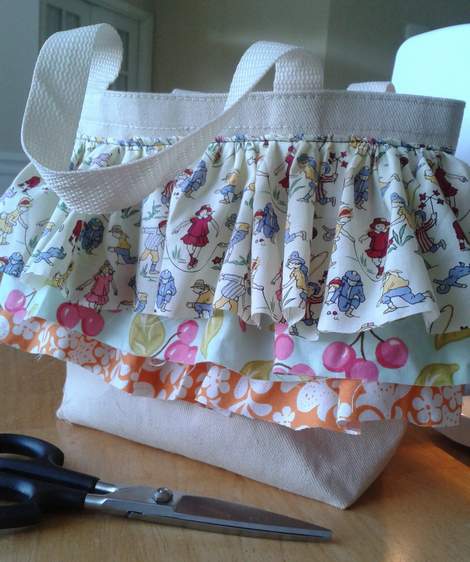
Well, I mean, it didn’t really start out a cute little tote bag.
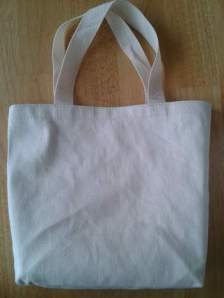
It was more in the “functional” category of beauty.
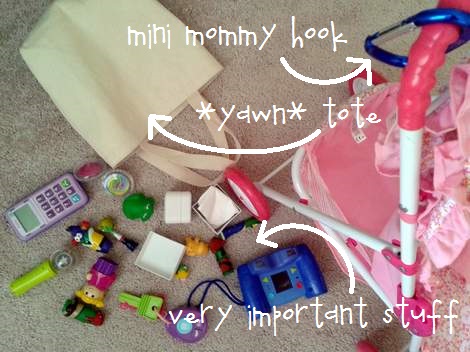
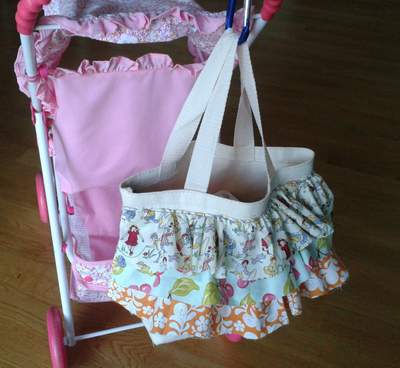
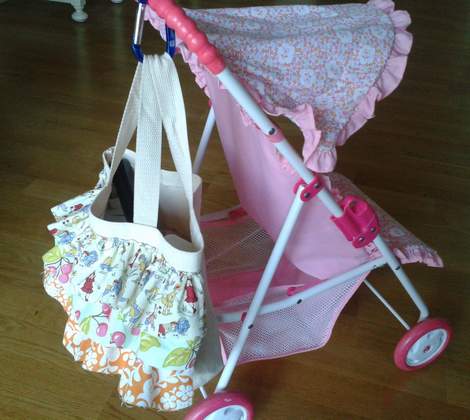
But Sis loves using it to tote all her stuff. [She even asked for a mommy hook like I have on the big stroller (which Big Bro lovingly provided by going and digging out one of his carabiners, smart!).]
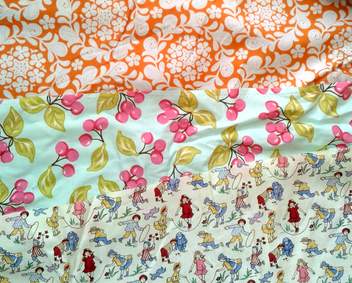
So I grabbed a few random fabric scraps.
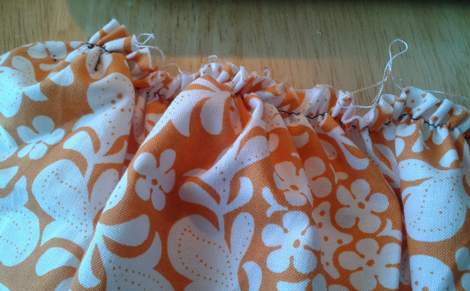
…Ruffled them (here’s my uber-simple ruffling technique if you happen not to have a ruffler foot on your machine)…
…And sewed them in three rows (a row at a time) onto the bag…
[Do the bottom row first, flip it down, then move on to the next.]
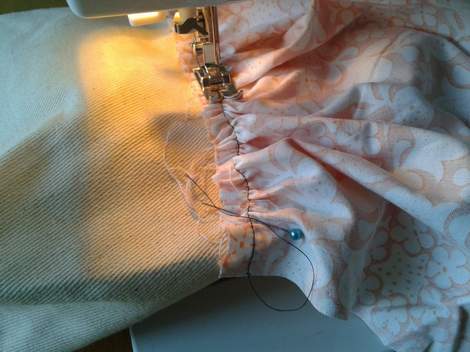
…Then top stitched just the top row and called it done!
…Hmm, well, or almost done…
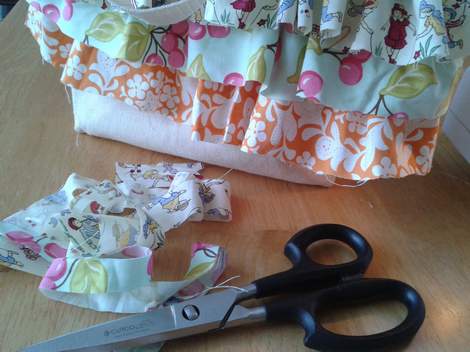
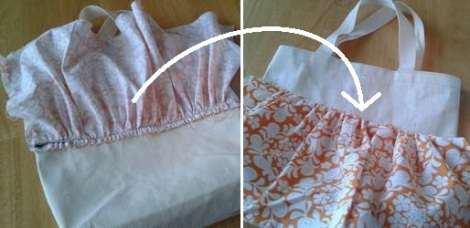
I decided to trim up a couple of the rows. It’s summer, right? Short skirts are in, right? …Even on totes? 🙂
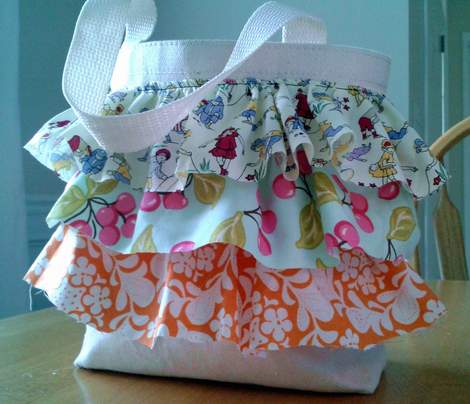
Ahhh! Better! Now really done!
Think Sissy will notice? 😉

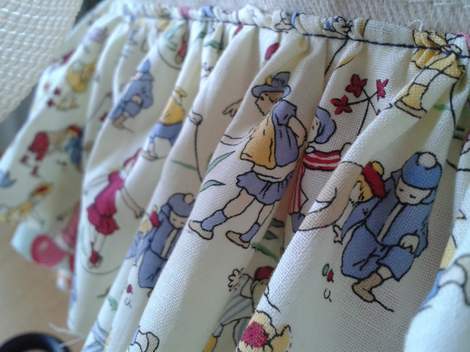
Hmm, now what else should I cute-ify with ruffles? [Don’t get me started!]
*
Here’s other girly sewing fun, too…


So cute! Another tip on making ruffles that may be even simpler and faster: set stitch length to longest setting and set tension to tightest setting, then just sew along the edge of the fabric. That’s it! Instant ruffles without pulling any strings! 🙂
LikeLike
YES!! I’ve done that and LOVED it!! But I wasn’t able to duplicate it today, why oh why??? Does it only work on certain thicknesses? Were the stars not aligned?? 🙂
LikeLike
I have noticed that some thicknesses do more ruffling than others… And a few times my machine hasn’t registered the tension change, so I have had to reset the knob a couple times. Crazy machines… But that’s my favorite technique! Never too many ruffles!… Or bows 🙂
LikeLike
amen to THAT! 😉
LikeLike
Adorable and useful, too!
LikeLike
Pingback: Another Cute Ruffled Tote {the mommy-ready version} | CampClem·