
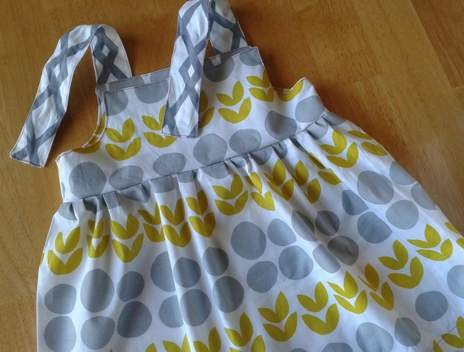
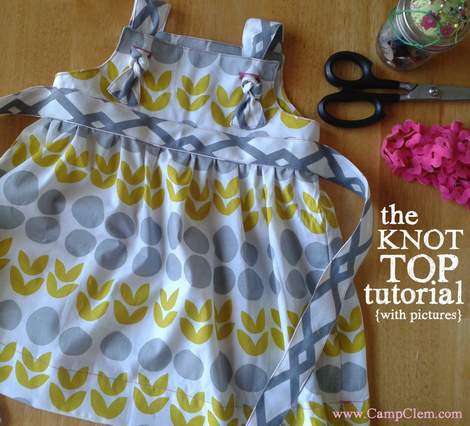
Okay, so it’s been months since I first started posting some variation of the top/dress I’m going to share with you today. Sorry it’s taken me an age to get it all together for you! I’m hoping the step by step pics will carry you through to sewing your own cute top too!
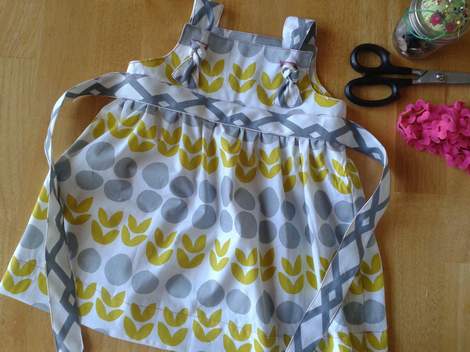
This tutorial shows a long top/short skirt option, but this same basic tutorial can be done as a shirt (like the ones here and here and here) or a dress (like the one here) depending on the length you cut the body.
First, let’s gather our fabric pieces…
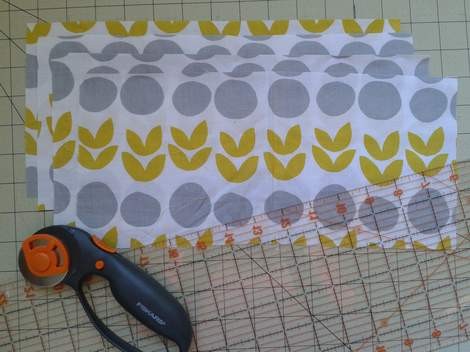
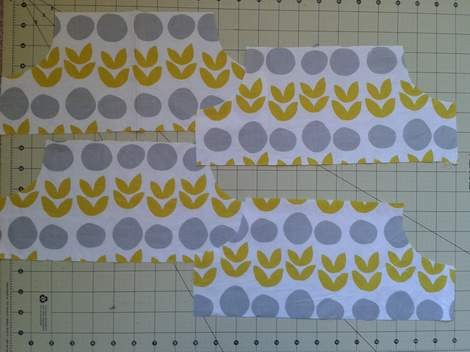
You will need four pieces for the bodice of the shirt, two outer pieces and two liner pieces. I just used the same fabric for both outer and liner, but you could also use a super-light-weight fabric for the liner or choose a fun contrasting fabric. For my 3-year-old, I cut the pieces 13″ wide by 6″ long. If you are making this for a younger or older child, subtract or add a little to fit better. So my bodice is about 25″ around finished (26″ minus 1″ of seams). If your child is 27″ around, measuring under the arms, then your bodice pieces will need to be about 16″ each (for a finished bodice diameter of about 31″). [You want the bodice to be loose, not fitted, for the tie-back waist. So measure your child, add 3-5″ or wiggle room, plus and extra inch for seam allowances, then divide in half–that will be your width.] The length (6″ for me) can be lengthened a little for an older child, (so a four-year-old’s bodice length pieces would be 6.5″ or 7″ long, a five-year-old’s, 7″ or 8″, etc.
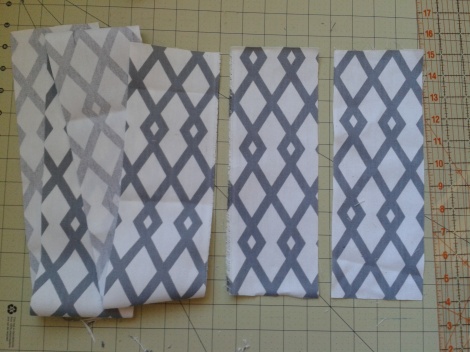
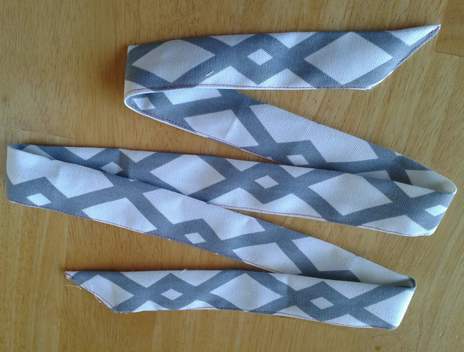
You will also need a long strip for the waist tie and two short strips for the shoulder straps. My waist tie piece is 48″ wide x 4″ long, and my shoulder strap pieces are 4″ wide x 11″ long (but you can cut them an inch or two longer if you like the look of longer straps). A thicker waist or taller body would necessitate longer straps, of course.
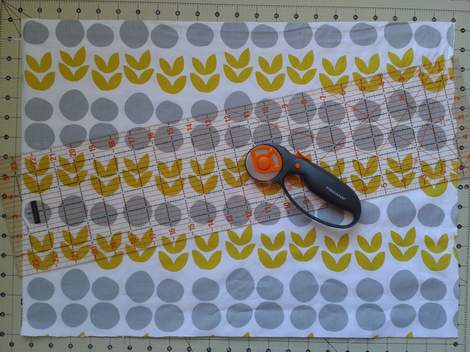
And you will need a piece of fabric 16″ long x 44″ wide for the skirt.
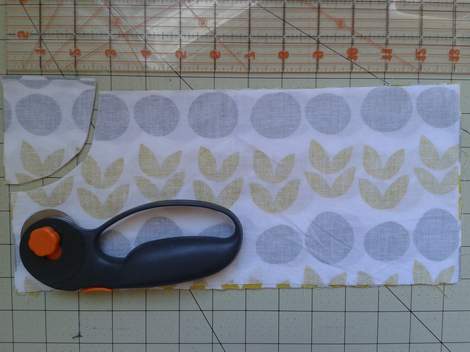
Put the strap and skirt pieces aside and stack the four bodice pieces. Then cut out a curved corner approximately 2.5″ wide and 3″ long. These will be the arm holes.
To match your cuts easily, just flip your cut corner over and use it as a template for the other arm opening.
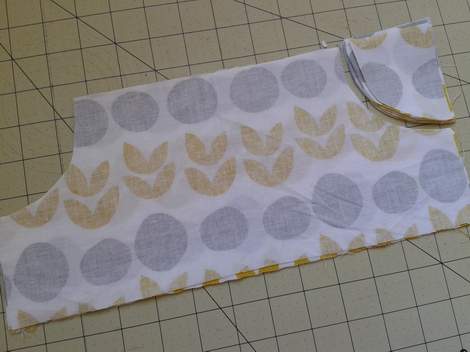
So you should end up with something like this. [If you are using a patterned fabric, you might want to line up your patterns for the outer pieces.]
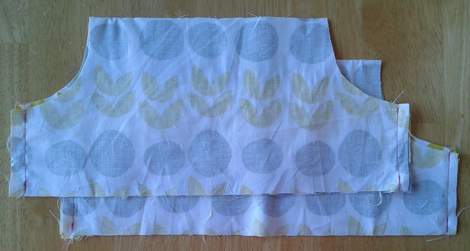
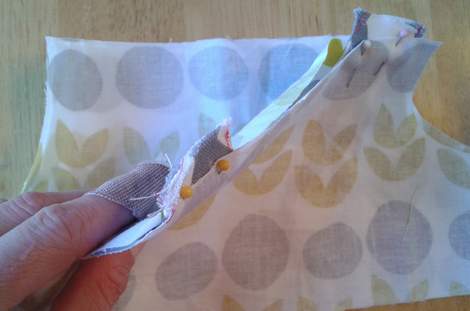
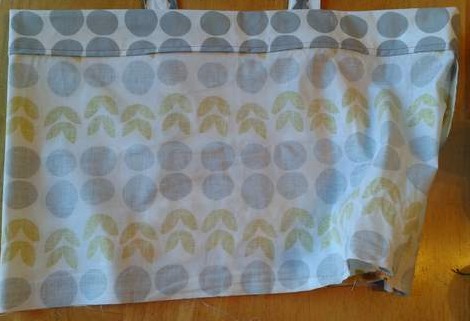
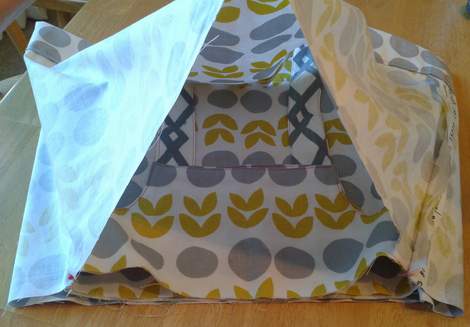
Then, placing the two outer pieces right-sides together, sew along the straight left and right sides. Repeat for the liner pair.

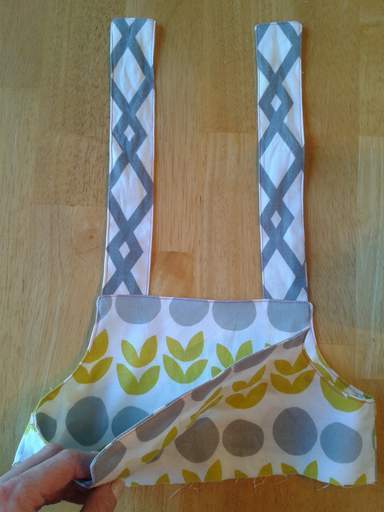
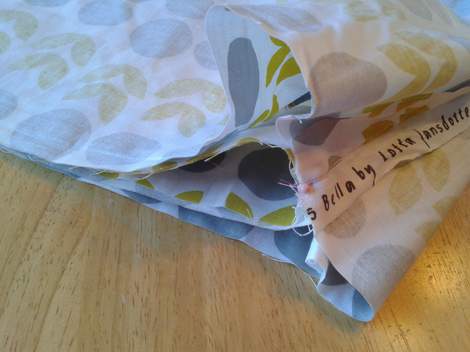
Next, turn one of the pairs right side out and place it inside the other pair, like a sock in a shoe. [It does not matter which is the “sock” and which is the “shoe.”] Now you have the liner right sides together with the outer layer.
Put the bodice pieces aside for now to work on the shoulder straps.
Fold one shoulder strap in half longways and sew along two open sides (leaving the third unsewn).
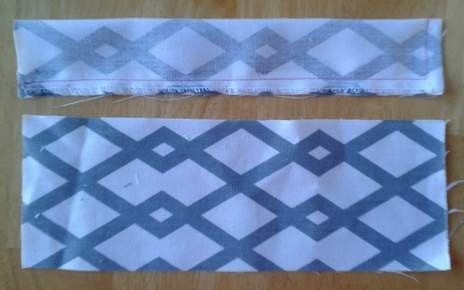
[The above photo shows the first strap sewn (top) and the second one not yet sewn (bottom).

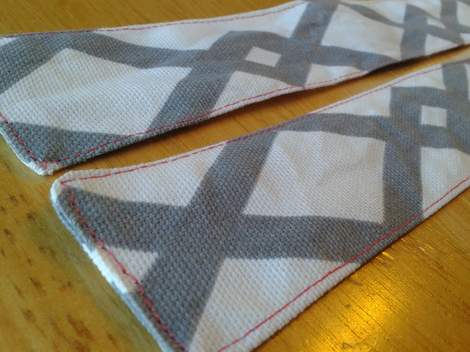
Once both straps are sewn, clip the corners (top right) so they will lay nice and flat when turned right side out (bottom). [If you don’t have a corner tool, you can use a pen cap to push the corners out.]
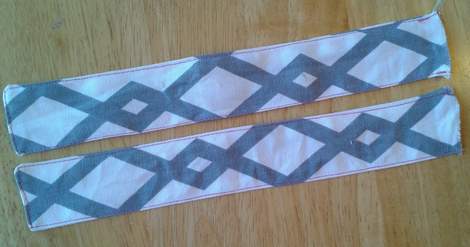
Once the straps are both turned right side out, sew around the edges (you can still leave the ends open–they will be hidden away in a later step.
[This step is not necessary to the construction of the garment, but it offers a nice finished look to your work.]
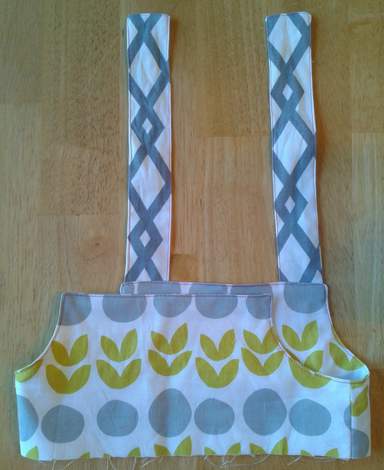
Next, pin your straps to the bodice by slipping them in between the layers of outer and liner pieces on one side (from here on, the back side) of the bodice.
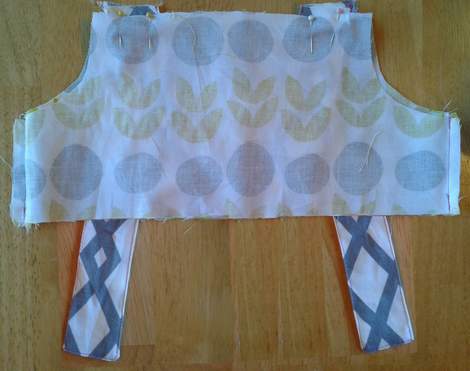
The open unsewn ends of the straps need to stick out of the layers about 1/4″. The straps can be pinned and sewn at a slight angle, as shown above (rather than straight up and down) to allow for the curve of your child’s shoulders. Your straps will need to be at least 1/4″ away from the arm openings so the sides of the straps are not caught in those seams.

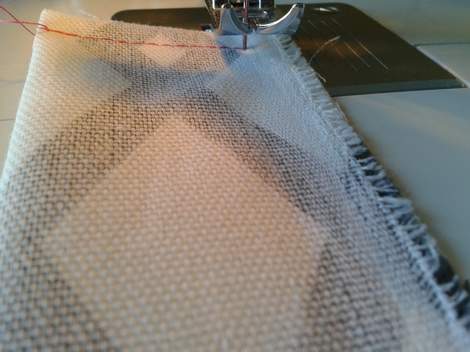
Opening the bodice like a tube wrapped around the sewing machine platform, and starting at one arm opening seam, sew all the way around the top of the bodice about 1/4″ from the edge.

Be careful as you sew over your straps. Remove the pins as you go.
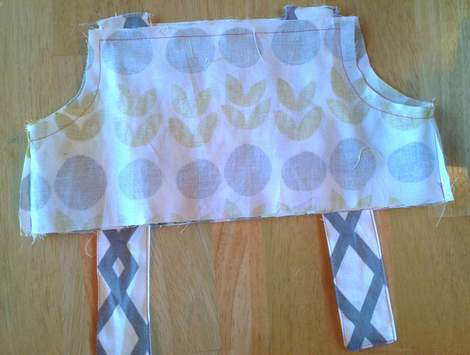
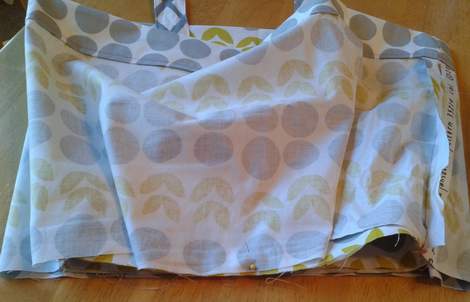
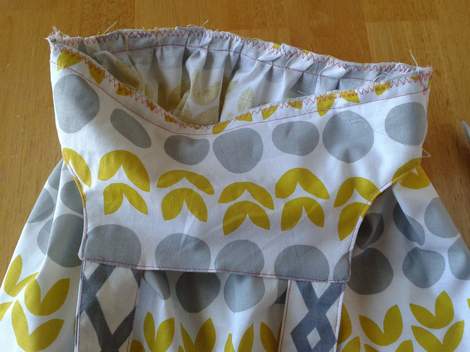
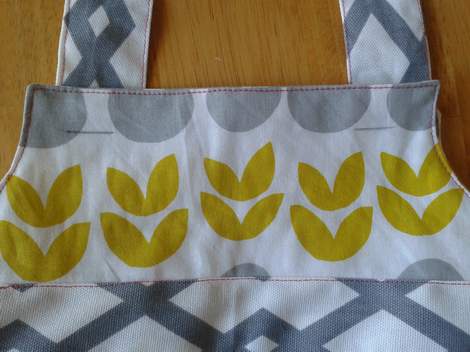
The front and back will now both look like this.
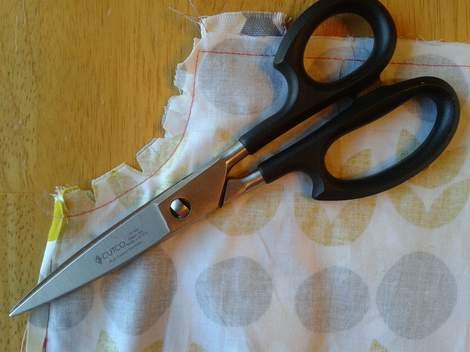
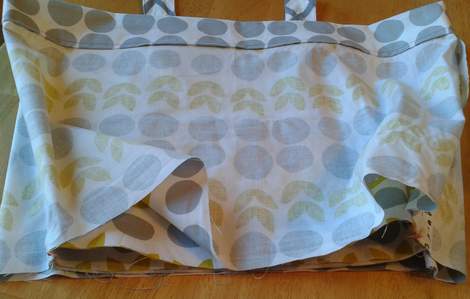
Before turning the bodice right side out, clip the arm opening curves and the corners, being careful to avoid your seams.
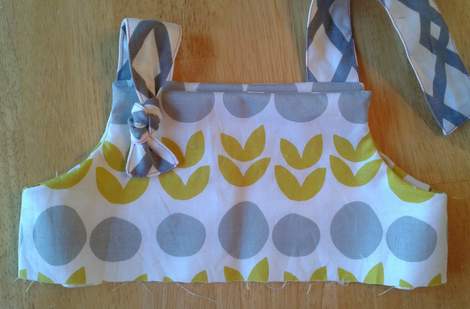
Turn bodice right side out. [I couldn’t resist the urge to tie a knot in one strap just to get a peek at what was to come!]
Just like you did with the shoulder straps, run a finishing stitch around the top of the bodice. This is not necessary to the construction of the piece, but it reinforces the straps… and it looks pretty. 🙂
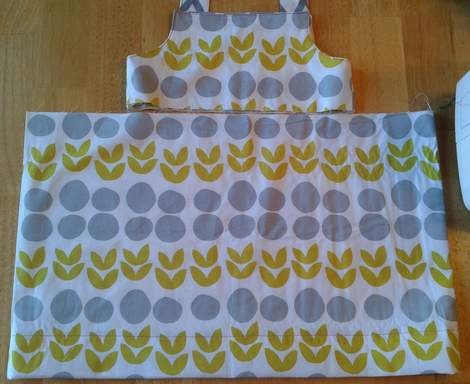
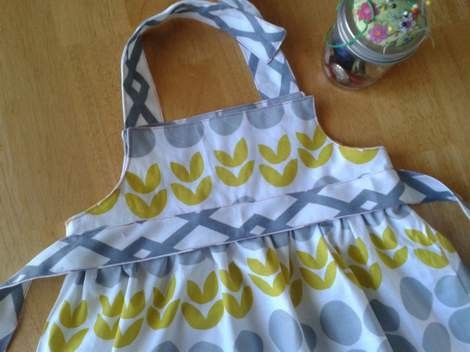
So now you’re here.
Set that aside just for a minute while you hem the skirt.
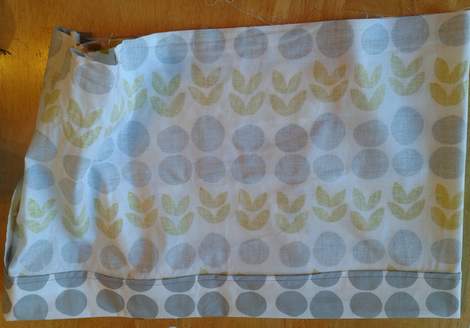
I like a nice wide hem, so I folded over about 3/4″ and then another 1-1/2″ – 2″ for my skirt hem. Nothing fancy here. 🙂
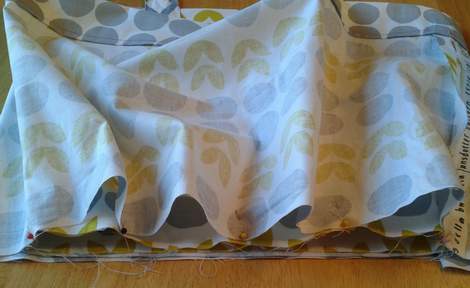
Now your skirt is going to look WAY wider than your bodice. But never fear!
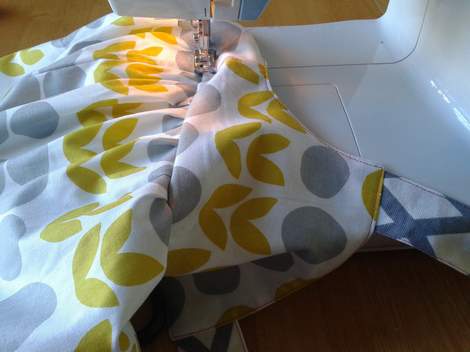
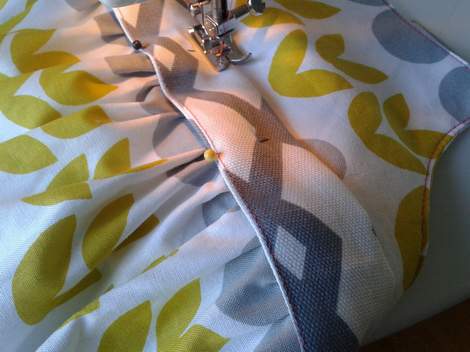
Fold the skirt up over the bodice so the skirt and bodice are right sides together and line up at the bottom of the bodice and top of the skirt. Pin the right side of the skirt to the right arm opening side seam of the bodice.
So it will look something like this, with your skirt piece billowing a bit where it is pinned to both the outer and liner of your bodice side.
Repeat for the left side, pinning the other edge of the skirt piece to the left under arm seam of the bodice.
So your bodice is tucked inside like this, and pinned at the left and right seams so far.
Next pin the middle of the skirt to the middle of the bodice.
Then pin half of what is left of the skirt on either side to each halfway point of the bodice (repeat for the back of the skirt/bodice too).

So you’ll have it all pinned up, like this.
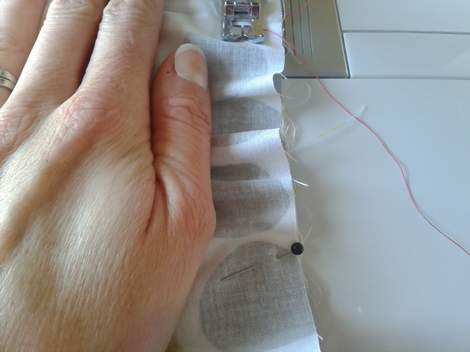
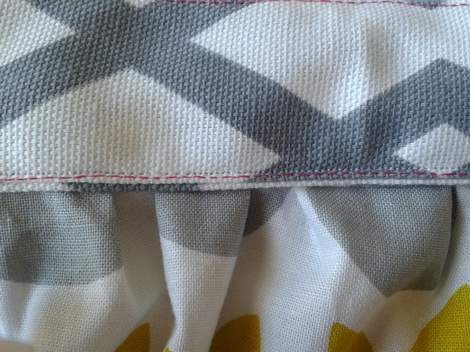
Then sew the skirt to the bodice, wrinkling up the extra skirt fabric as you sew to create the ruffles. [You could also ruffle the skirt before pinning it to the bodice, if that is more comfortable for you! tutorial on easiest way to ruffle fabric here.]
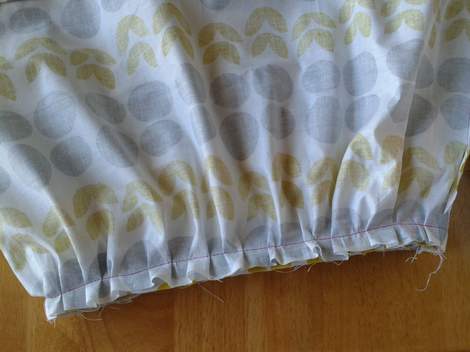
And shazaam, we’ve got ourselves a ruffled skirt.
I like to do a zig-zag stitch around that seam to, to help prevent fraying.
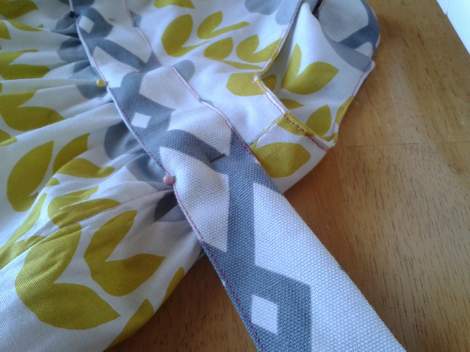
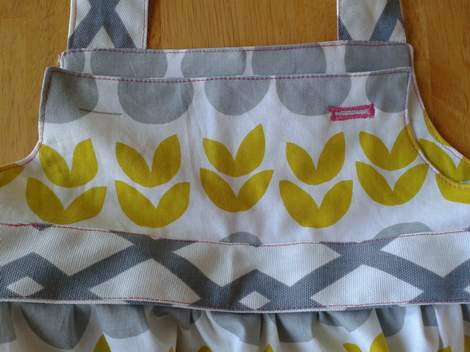
Next, run a topstitch along the back of the bodice where it meets the skirt. [Again, not necessary, but nice.]
So it will look like this. It’s really coming together now!
Now let’s turn our attention back to the front and to that waist tie! Put this piece aside for now.

Fold length of waist tie piece in half and crease (or iron) to mark center fold. At each end of the strip, fold under about 1/4″ – 1/2″ and crease (or iron).
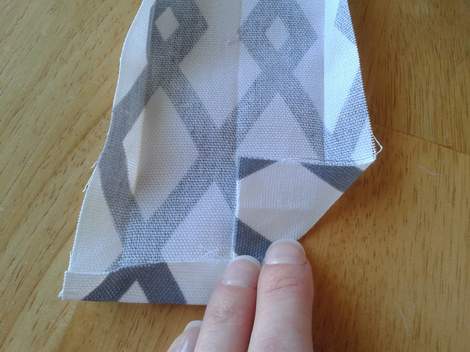
Then fold each corner into the center.
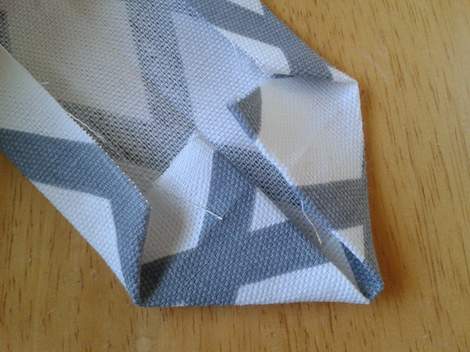
Next, fold under and crease the sides of the tie fabric about 1/4″ – 1/2″ each.
Then fold in half and crease, iron, and/or pin to keep secure until sewn.
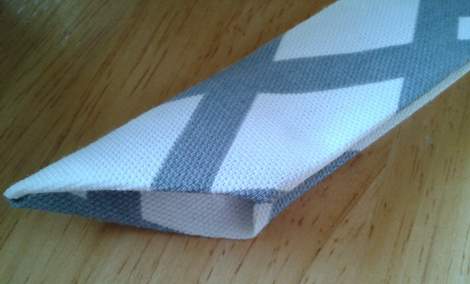
Sew along one edge of the entire strap, from one point to the other.
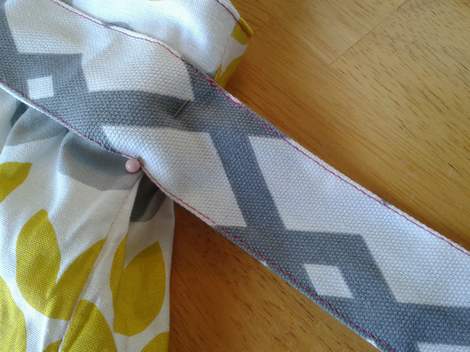
Then, finding the center point of both the waist tie and the bodice, pin the tie to the front of the bodicejust above the skirt/bodice seam.
Sew the top of the strap to the bodice, removing pins as you go.
Then sew a finishing stitch along the rest of the length of the strap to have a nice finished edge. [So my pink thread from where the tie is attached to the bodice looks like it just continues on seamlessly onto the strap.]
Almost there!!

[Don’t worry that the waist tie can flip up–it wouldn’t matter when it’s tied, but we will address it in a minute anyway.]
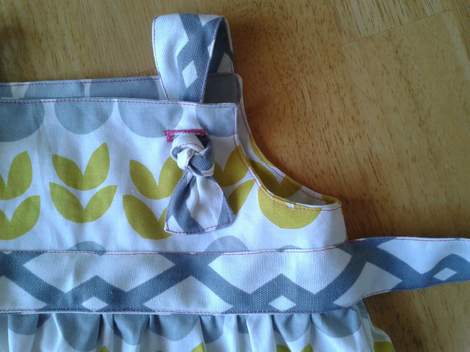
But before we change thread color to do that, let’s make a couple of button holes.
Can i confess: button holes really scared me for a long time. I think I thought they were some sort of advanced sewing or something. But all they really are is a little rectangle of zig-zag stitches. Mark where you want your button holes to go (make sure not to make them too wide if your fabric is thin or else your knots will slip back through the holes).

Set your machine to sew a tight, narrow zig zagstitch and run it along the perimeter of your mark making sure the sides of your button hole stitches don’t overlap.
See! Easy peasy!
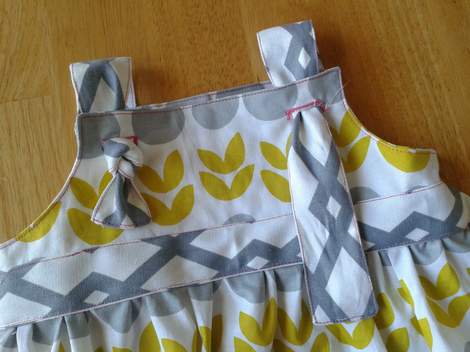
Repeat for your second button hole, and then pull your straps through and tie a knot in each end.
Now you could call it done, but just one last thing: switch your top thread to a color that blends into your fabric (white in my case), and sew the bottom of the waist tie strap to the front of the bodice. [you can see the original pink thread where we made the strap and–just barely–the white thread where the tie was secured to the bodice here. [This would be a marvelous moment to tuck in a cute little “apron” piece, but I resisted for the sake of this tute’s simplicity. We’ll talk added embellishments and options another time!]
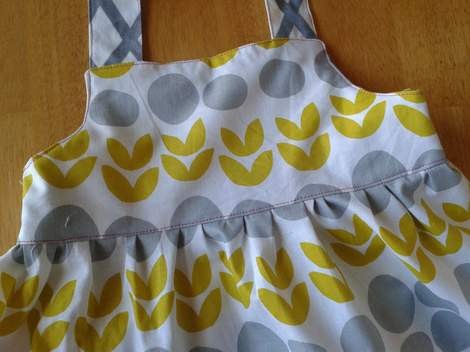
And ther you have it!
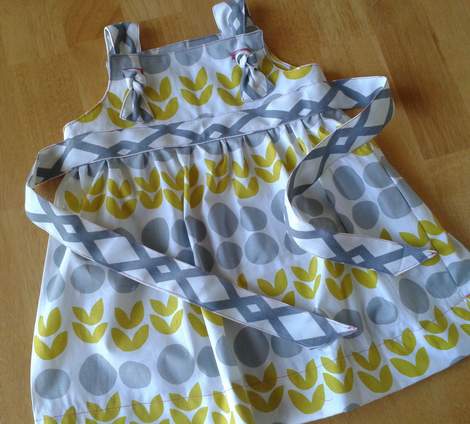
One fabulous knot top (or dress).
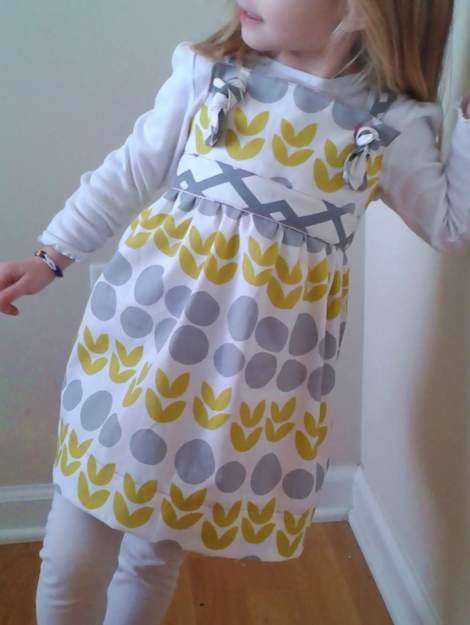
It’s perfect this time of year with leggings and a long sleeve tee or turtleneck, but–come summer–it can fly solo!
Yay!


LOVE LOVE LOVE THIS!
LikeLike
Meredith, as a fellow seamstress, I’d love any thoughts or feedback of what can be improved in this post!
LikeLike
Pingback: Upcycled Again: Dress to Skirt to Ruffles & Knots | CampClem·
Pingback: My Old Shirt Goes “Holly Hobbie” For Sis | CampClem·
Pingback: Mixed Fabrics & Ruffles: A Christmas Outfit | CampClem·
Pingback: Multi-Fabric Little Girl Dress {matilda jane inspired} | CampClem·
Pingback: 3 New {totally cute} Simple-Sew Outfits For Sis | CampClem·
Gina, I love the top and Claire looks adorable in it.
LikeLike
Thank you! Excellent tutorial.
LikeLike
Have you ever added a apron to this dress. I would love a tutorial on it. Thanks! Love your site. Lynne Dorsey told me about it and I have made a few things using your blog!
LikeLike
Oh my goodness! I am totally thinking about adding an apron to this dress!! You read my mind! I might do a tute on it some time–it would be so simple!! [And meanwhile, I love Lynne! I feel so blessed that she would want to share my blog with you!]
g i n a
LikeLike
I love Lynne too! She was my youth director and close
Family friend! Could you do a removable apron! Lol not asking to much!
LikeLike
Here’s the short of the long on how you’d do one: sew an apron piece (you could use the patch pocket tutorial (but make an apron rectangle size instead of a pocket). Add three button holes across the top of the apron rectangle–one at each corner, and one in the center. Set aside. Then on the dress, add three buttons across the front waist of the dress front (where the waist tie is). And that’s it, pretty much! [I like to do the apron in the same fabric as the tie so the apron looks like it’s tied on…] Button on the apron and you’re ready for adorable overload, right?!
LikeLike
Thanks that is what I was going to do! Thanks so much I’ll send a pic when it is finished. I am waiting on my machine to be fixed!
LikeLike
Pingback: Knotical Twirl Dress {major twirlability going on heya} | CampClem·
Pingback: Patchwork Twirly Knot Dress {ready for spring!} | CampClem·
Pingback: Sis’s Upcycled “T-Shirt Quilt” Twirly Dress {tutorial} | CampClem·
I just spent an hour looking at your tutorials and I can’t wait to sew for my little lady when the boys go to school next week. Thanks for the inspiration, I have been dying to get my sewing machine out and spending a small fortune at the fabric store and your blog have done it!
LikeLike
Pingback: Heather Bailey Creative Challenge & Giveaway: Project 2 | CampClem·
I might just be sleep deprived but I’m not sure what you mean about tucking the bodice pieces inside each other like a sock and shoe…help!!!
LikeLike
Pingback: How To Make That Beloved Knot Top New Again! | CampClem·
Pingback: Discovering Your Little Girl’s Style {the not & knot tops} | CampClem·
I think I can, I think I can…. Sew clothing? I love , LOVE your blog! I know this sounds CRAZY, but I can make pretty quilts…I just can’t sew clothing! I think it goes back to Junior High and Home Economics…my jumpers, skirts, etc looked “homemade”. I mean really, really homemade. So I stopped making clothes and started quilting. BUT, now that I have seen your beautiful creations… I Think I Can, I Think I Can……say a prayer for me as I get that sewing machine whirling! Thank you for your blog and your loving spirit in Christ!
LikeLike
Oh! I love that!! I hope it turns out well for you, wheeee!
LikeLike
I’m so excited I found this! This is my fav style dress and I’m a semi beginner and you made it seem so easy! Can’t wait to try it!!! Thank u!
LikeLike
I appreciate your clear instructions! I struggle with mechanics of sewing and your tutorial was easy for me to follow. Only the second dress I’ve made and it looks great. Thank you!
LikeLike
Does the dress supposed to have a back?? I’m stuck on getting the skirt to the bodice.. It doesn’t go all the way around. Please help
LikeLike
Thanks…I love this! I think I’ll be looking for some cute fabric to make a couple for my grandlittles
LikeLike