
So hubs and I tossed ideas around for a while on what to put on the big blank wall in his office.
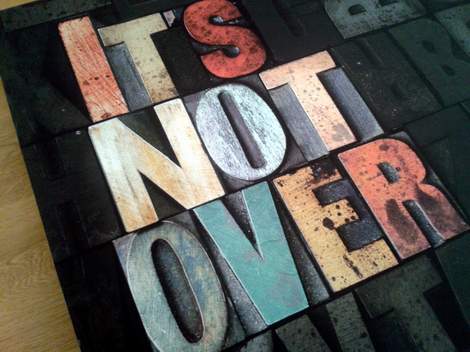
And one day he suggested this letterpress art poster. It was from a preaching series at our church, and I just love what it says: “It’s Not Over.” What an awesome battle cry to all those who feel weak and weary in this world! The look and the words fit for those my husband might have the chance to encourage who happen into his office (he’s a pastor), so I set to work making it into something to hang on the wall.

Ideally, I could have just wrapped the vinyl poster around an existing canvas frame, but since the dimensions were a bit odd and the top of the words were too close to the edge of the poster to wrap without wrapping them around the top of the frame, I decided to build a custom frame.
Using the poster’s measurements, I miter cut four pieces of wood to build my frame. [The above miter box picture is showing a straight cut, but I mitered the corners for my frame and then straight cut the framework braces in a later step.]

[At first I added those two little pieces of scrap wood in the corners to help square up the frame, but I ended up adding proper framework pieces, so ignore them.] To create the “canvas” to which to affix the poster and to cover the edges, I wrapped the frame in very inexpensive black fabric.

I just pulled it taut, starting in the middles and working to the edges, wrapping it around to the back and stapling the fabric in place with my handy dandy staple gun.

Now corners can be tricky for some. I’m a bit uptight about corners myself. I want them clean and flat. Here’s how I do ’em:

First, I pull the corner taut and staple it.

Next, tucking in the the folded fabric, I pull on side taut and staple it.

Then, tucking in the fold, I pull the other side taut and staple it down. And shazaam, pretty corners!
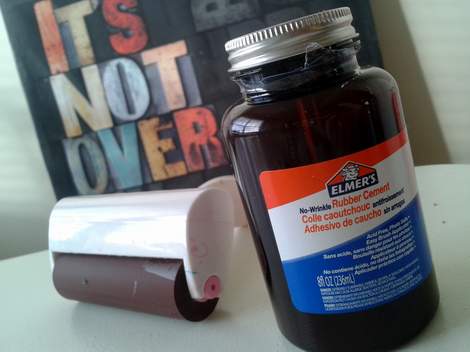
Next, I glued the poster to the canvas. Rubber cement is the way to go because it does not ripple like normal glue or even mod podge does. I rolled the glue out with this little ink roller I have to get everything nice and smooth.

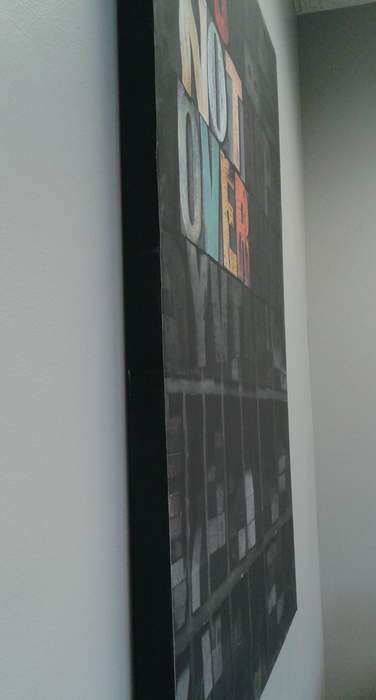
The frame was good… but not great. So I decided to give it some bones by cutting two long and three short boards (two across the width, and three going up the height of the canvas. [It’s viewed from the side in the above pic.]

I glued and then wedged then into place.
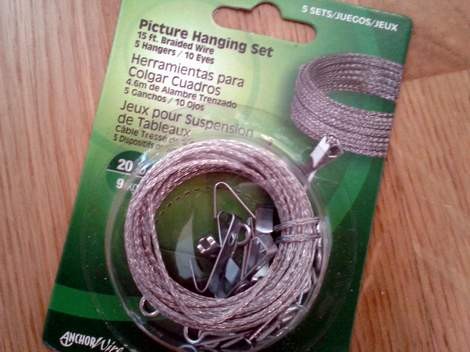
Now that the frame was nice and sturdy, I grabbed some picture wire and eye screws to mount the hanging hardware.

I mounted the screw eyes to the inside back of the frame, so the canvas would lay flat against the wall.

Then I strung the wire double (single is fine, but double makes it hang on the wall without moving every time it’s bumped or blown).
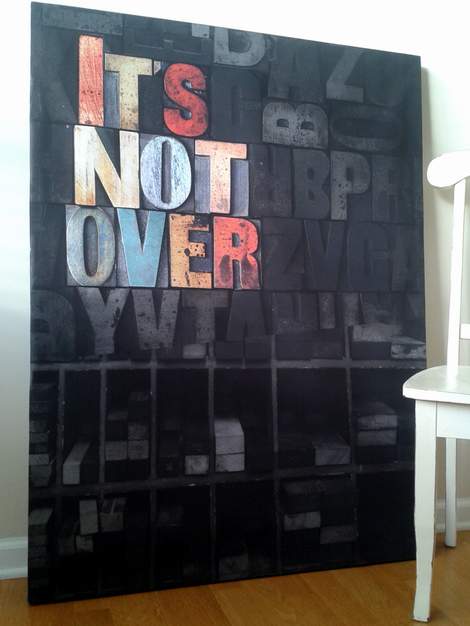
Yay! So it was ready to go!

It looks great in his office! Hooray!
And since it’s on the same wall as the door, it’s even nicer that it lays flat. You don’t see any of the “mechanics.”

And the wall is blank no longer, huzzah!


very nice end result!!
LikeLike
Great tutorial and it looks great on that large wall.
LikeLike