
You know how it goes when I give my closet the crazy eye… And this project makes me particularly happy since it is right in line with one of the dominant themes of my life (and of Christ’s, though mine is on a MUCH less significant scale): to take something cast-off and useless and transform it into something valuable and beautiful.

So, this old long sleeve stripe t-shirt is fine, but it’s a little too big and I never really wear it any more, so it was time for a new life! The jersey is lovely and deliciously soft, perfect for a pair of lounge pants for my sweet girl. [and by lounge pants, I mean wear-anywhere pants because they are so cute.]

This upcycle is great for a soft old tank, short sleeve tee, or long-sleeve t-shirt. First, cut off the sleeves, neck, and top of the shoulders.

Now you have a sort of “tube” of fabric. Now rather than laying it as it is used to–with the side seams at the side–lay it with the side seams down the middle front and back of the shirt.
Then fold the fabric tube in half so that the shirt side seams are now on one side, and what were the front center and back center of the shirt are on the other side. [The reason I don’t just fold the original shirt shape in half is because you might end up with one slightly wider leg, and that drives me crazy even if no one else would ever notice.]

Here is the folded fabric tube. Line up a folded pair of existing pants on top with the straight sides of those pants and your projects NON-seams side lined up.

Use the existing pants as a sort of template to cut the crotch curve, stretching out the elastic on the existing pants to make the new pants waist the proper width. Be sure to add an extra inch or so at the top to fold over for your elastic waist.

Now although your pants legs look cut, when you unfold your shirt fabric, you will still have a tube. Separate the two pants legs by cutting off the side seams of the original shirt.

Now you have something like this. [The one on the left is folded in half like a pants leg, and the one on the right is flat.]

You’re almost there! fold your two pants legs right sides together, lining up the raw edges, and sew along the straight part only (leave the curve unsewn until the next step).

Then, tucking one RIGHT-side-out leg into the other inside-out leg, you can sew around the curve of the crotch, right sides together. Just start at the waist opening, sew down and around the curve, and back up to the other side of the waist opening.
Finally, fold under the waist an inch or sew and sew that down, leaving a little opening to add your elastic. [I measure my elastic by holding a piece around Sis’s waist, cutting it to the exact circumference of her waist, then overlapping the elastic about an inch to sew it to itself to form the closed loop. [I often close my elastic loop and then sew it into the waist, but I did it the old fashioned way this time since I wanted to finish these pants as much as I could while Sis was sleeping.]

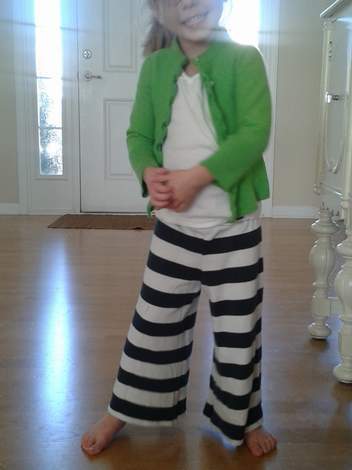
So now we are ready for more cozy cuddly winter days…

Oh! Or spring too!!

Ready for a little bit of this…

…Or this…
…Or that…
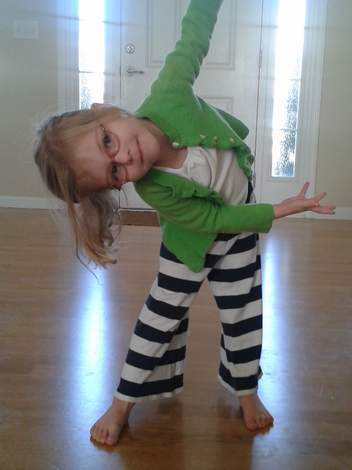
Life’s just one big dance party around here!! [Oh, and that cardi. You’re going to laugh… Can’t believe I’ve never told you about it?! Yep, go ahead and laugh now, but stay tuned for THAT story!]


Gina, I wish I had just one pinch of your creativity! Love it!
LikeLike
Pingback: Not all Upcycles Are Planned: It’s Not Ruined… It’s Just Resized | CampClem·
Pingback: Pick Your Plum {review & giveaway} | CampClem·
Pingback: Discovering Your Little Girl’s Style {the not & knot tops} | CampClem·