
I wanted to make something for Sis that incorporated navy, olive, and lilac, so I pulled some fabric and got busy.
But what to make?! I landed on a criss-cross back shirt. To make your own, you will need to figure out sizes, but you know I am not big on tedious measurements, but make sure the width across the shoulders and the length is good for your little lady.
Here’s how to do it:
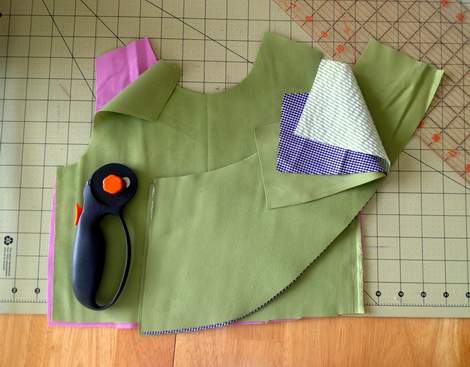
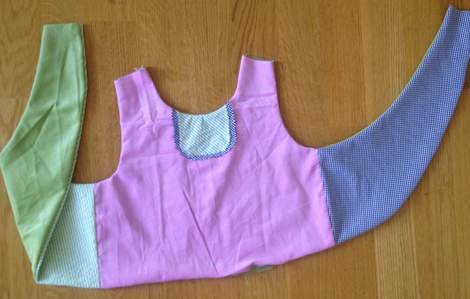
Once you’ve decided on your measurements, cut two front bodice pieces and four back wing pieces (so basically cut the lining pieces at the same time as cutting the shirt pieces).
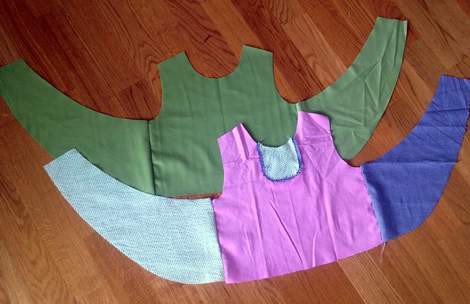
Sew the bodice piece to the two wings along the side seams, right sides together, and repeat for the liner pieces.
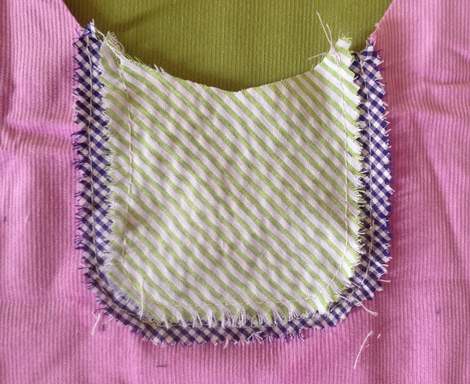
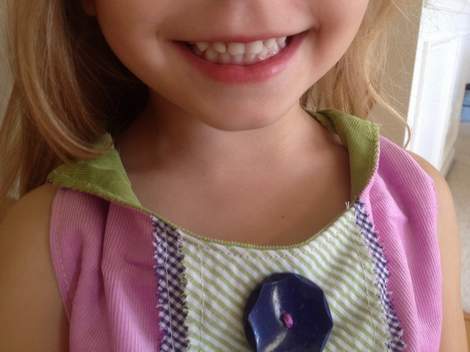
[I also added a couple of layers of raw-edge fabric to the bib of the bodice as a cute little detail at this point.]
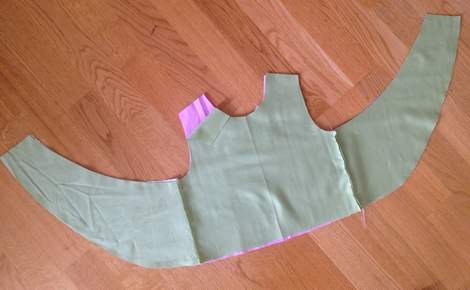
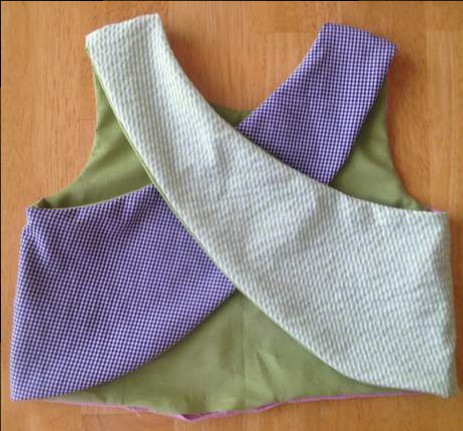
Next, lay the two pieces on top of each other, right sides together, and sew almost all the way around, leaving open the shoulder straps and several inches at the bottom middle of the bodice.
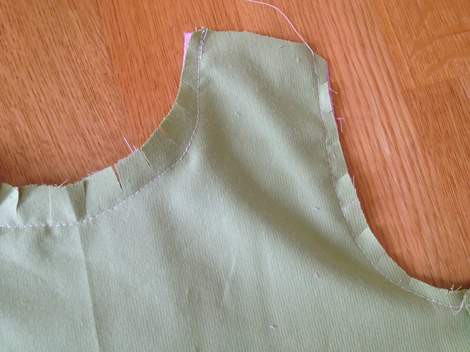
[Above you can see the open shoulder.] Snip around the curves of the piece to help it lay flat once turned right-side-out.
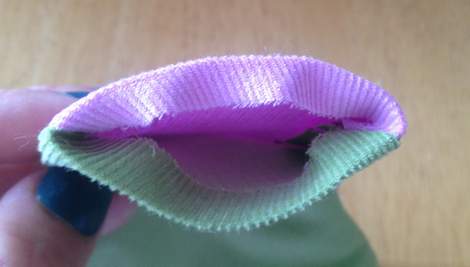
Once turned right side out, it will looks something like this.
Fold under about a quarter of an inch of one shoulder piece…
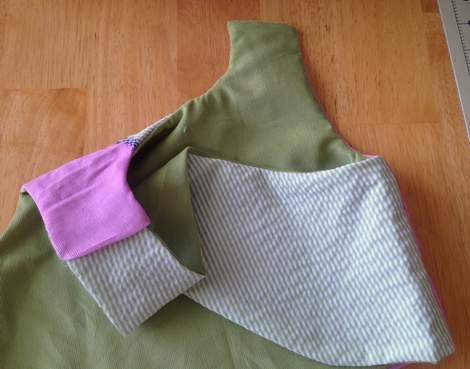
…And insert about a quarter of an inch of the other, crossing the right wing to the left shoulder. Pin in place. Repeat for the left wing to the right shoulder.
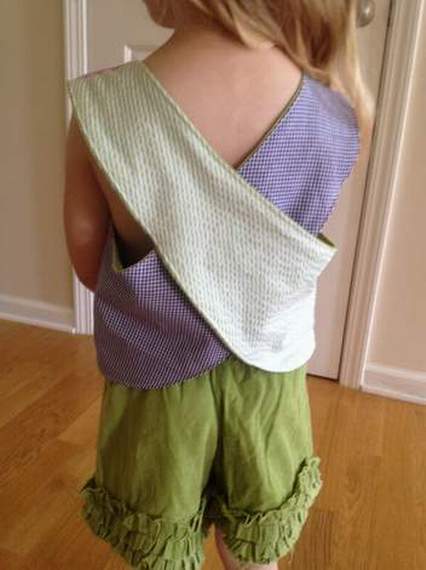
This is what it will look like once pinned. [The pins are not visible from the back, in this pic.]
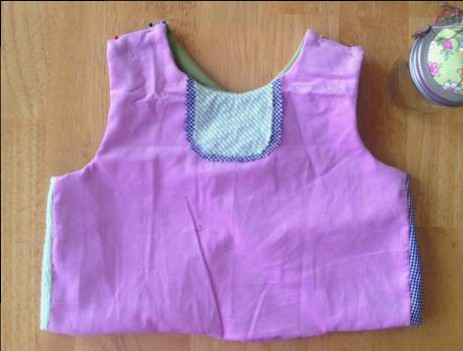
Here is the front view. [You can see two pins at each shoulder.]
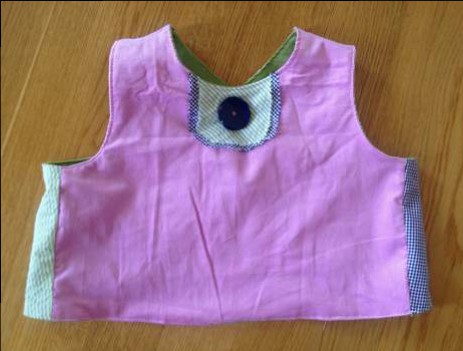
Then, sew all the way around the edge of the piece, just barely on the fabric. You might need to go a little slow around the curve and use a steady hand. When you sew across the bottom front of the bodice, make sure to turn in your bodice and lining where they were left open and sew straight across the opening to close. Pin this section closed ahead of time if you need to. Finally, sew across each shoulder seam to join and close those.
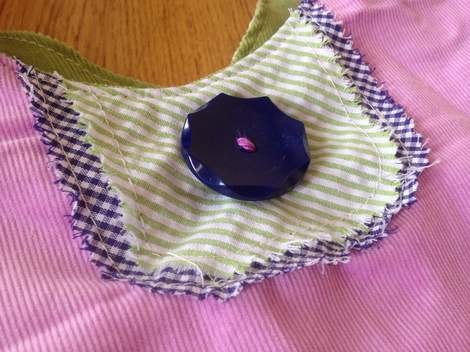
[I added a decorative button for fun.]
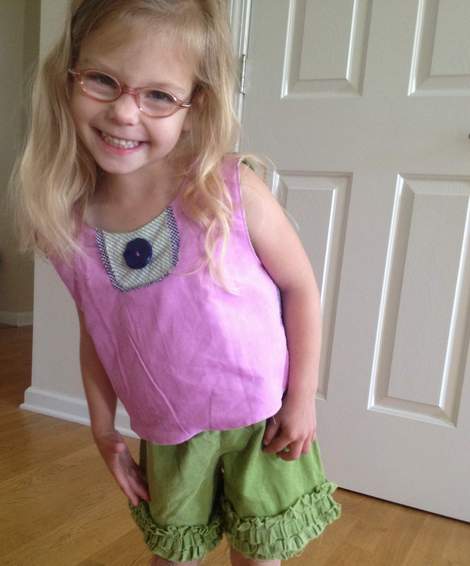
Now your piece is finished, huzzah!
It’s a cute top that looks like it was way more impressive to construct than it actually is.
You can dooo eet!
*sigh* But meanwhile…
Have I ever told y’all I sometimes make something and just really don’t like it at all. The process of creating is, sadly, the only pay-off on some projects. Such is the case with this little top. I just wasn’t feeling the finished product.
But you know what I say: Get tangled up, just tango on!
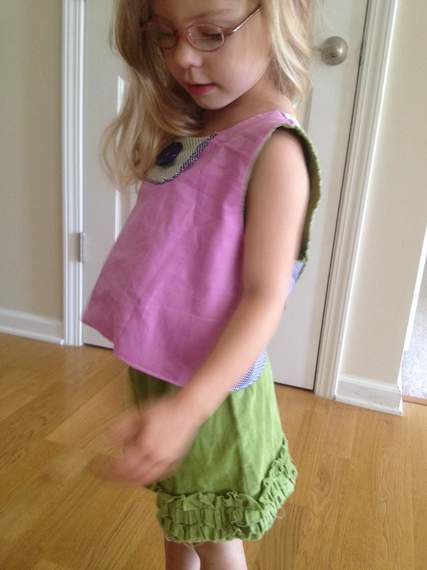
So THIS top became the tango-on top. I turned the shoulders out so they looked a bit like a sailor suit collar.
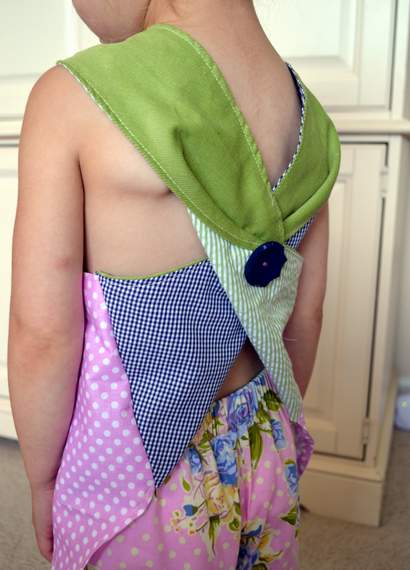
And I added a button in the back to hold the twist in place. Every good story has a surprise twist, right? I also pieced in some lilac polka dotted fabric to the sides and bottom of the bodice.

So here’s where it ended up. Tangoing on in all its glory.


I love seeing your creations on your daughter. She is so cute.
LikeLike