
I feel like I am always painting old picture frames creamy white, then sanding them and dirtying them up to perfection, but since it’s been a while since I did a post on how I do it, I thought I’d share this little project with you today on the frame I did for a DIY canvas I mentioned last April.

I had this DIY canvas propped up on the CraigsList buffet (it’s the little bit of blue you see peeking up behind the large center frame).
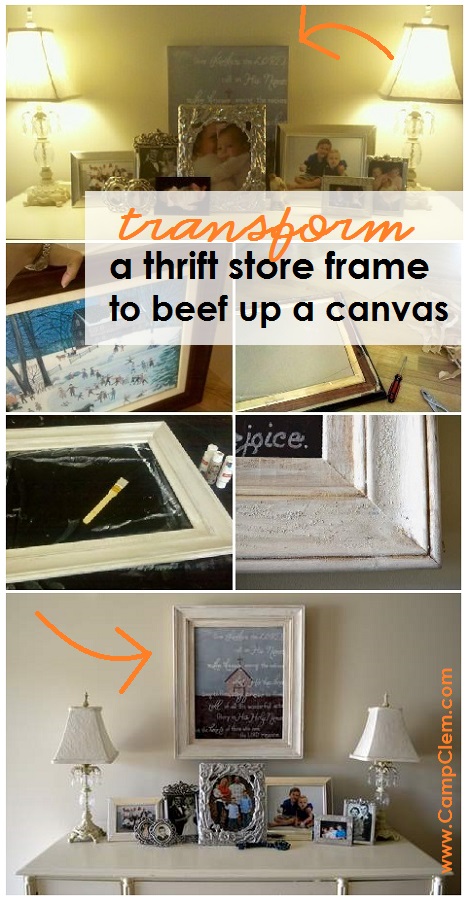
But it needed a little more… presence. You know, a little meat on its bones.
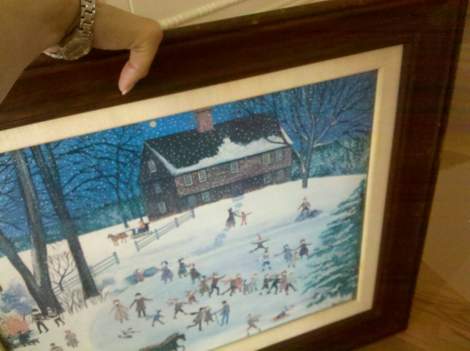
So I grabbed this thrift store framed print cheap as chips. The glass was missing (didn’t want it anyway). the print was badly faded, and the dark wood frame was not really our taste, so it was due for a little makeover!

I removed the paper backing and then, using pliers, removed all the staples holding in the print and thick card backing.
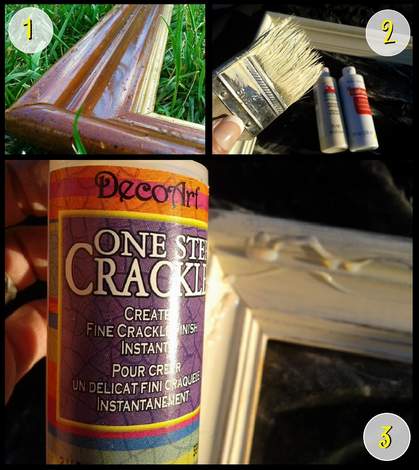
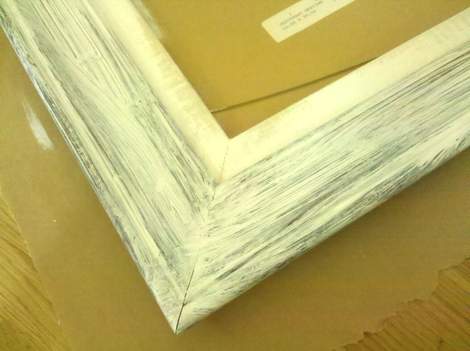
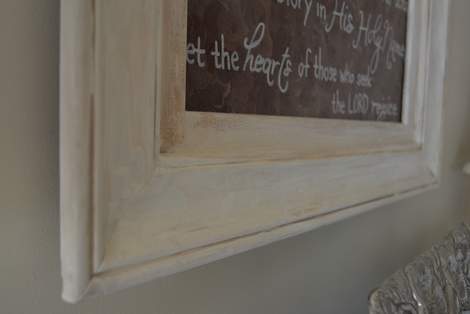
So after I slapped on a couple of coats of paint, added a little crackle, sanded, and watered-down-painted the nooks and crannies, I called her done! Now this frame… well, it still looks old, but now in a good way.
 It’s a nice chunky 3″+ frame that takes my dinky 16″ x 20″ canvas and beefs it up to 22.5″ x 26.5″.
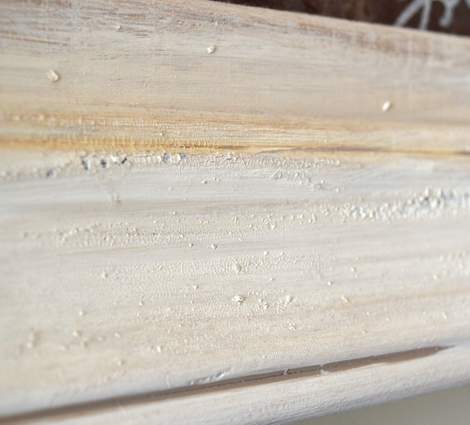
 And the combination of slapped on paint, a light sanding, a glopped-on crackle finish, and a watery brown wash is just right, in my book.
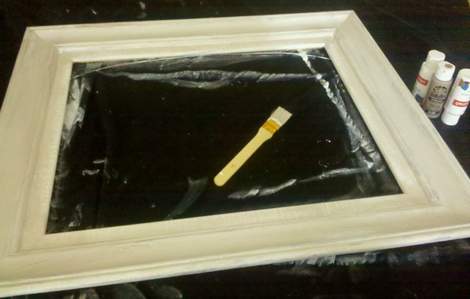
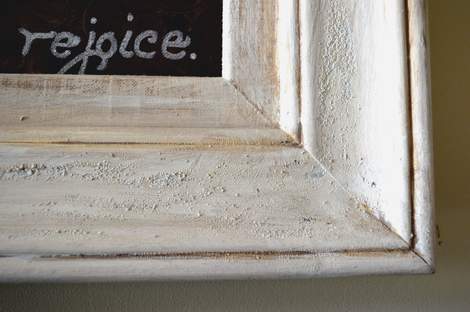
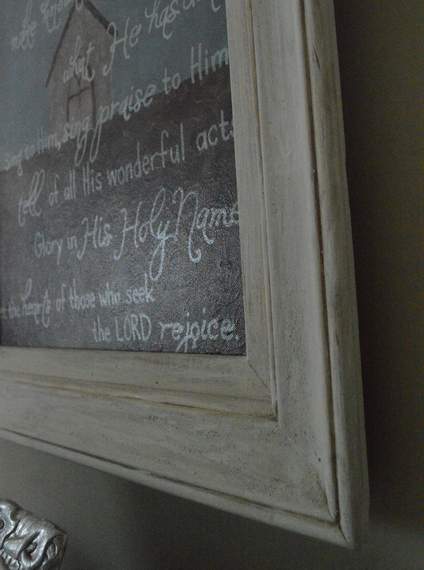 The canvas just slides into the opening in the back and is secured to the frame with a few staple gun staples shot in at an angle.
 Yay, much better!You can really see the difference in the size when you compare the heights against the lamps.
 So with the extra 6.5″ of height and width, it was ready to hold its own on the buffet.
 And it looked even better all hung up.


Great job!!
LikeLike