
Y’all. I promise I do not flit from girls’ night out to girls’ night out, but a couple of weeks before our handmade ornaments Pinterest party, we had a girls’ gathering and ornament exchange that sparked the whole thing to begin with.

[Yeah, I’m pretty much blessed with the most extraordinary league of friends. We just hate hanging out, can’tcha tell?] Anyhoo, since we were doing an ornament exchange, I was shopping for a good one to take, and nothing was catching my fancy…
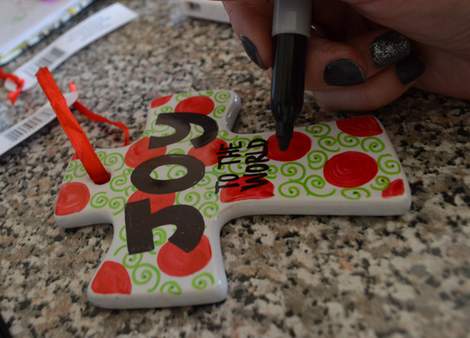
So of COURSE I decided to make my own! I first colored red polka dots, then added little green swirlies, and finally added my wording to a simple white ornament.

Actually, I ended up making a few and giving them as gifts… I got these blank ceramic ornaments for just over $1 each at Michael’s craft store.
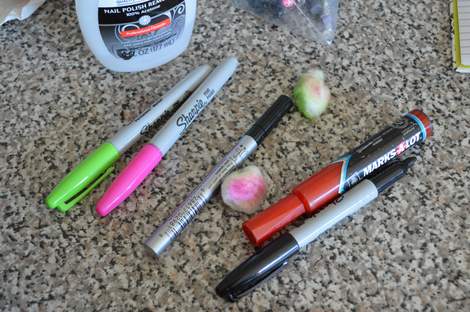
Since the ornaments did not have to be dishwasher safe, I was clear to use regular sharpies for my designs. They couldn’t have been easier or more fun to do! And bonus: if I messed up, I could just wipe them clean with nail polish remover and start over!

And wouldn’t ya know it, my ornament got “stolen” during the ornament exchange game, a sure sign of gifting success! Se we girls got to talking about the ornament I had made and some of the other cute handmade-looking ones and decided to have an ornament-making party of our own!

I purchased enough ornaments for my guests (and everyone brought a few bucks to cover supplies) in a different shapes and also had a bevy of sharpies and paint pens for everyone to use. These ceramic ornaments–which I again found at Michael’s–come in stars, stockings, ornament-shapes, crosses, and even spheres and other three-dimensional shapes.

At our pinterest party, each guest got to make a handmade burlap and felt ornament (above, right), like we already talked about last week, and also one of these ceramic ones (left).

I just love love love how even though we were all working on the same project, we all had such different points of view! Some covered the heel and toe of a ceramic stocking with scraps of burlap or felt for a totally darling country look, others chose verses or inspirational words.

Of course, there were lots of polka dots too, to my heart’s joy! 😉

And I love adding a personal touch to the backs. Some were inscribed as gifts to loved ones, others simply bore the date, and some the occasion of our gathering.

It was a wonderfully simple and inexpensive craft that allowed room for a little creativity and a lot of great girl time.

These are fun to do with adults or kids (though better keep a close eye on the sharpies and paint pens depending on the age and maturity of your munchkins!).

And I love the idea of these as a gift, maybe for a couple’s first Christmas together… “The LastNames est. 2014″… Or maybe as a baby’s first ornament with his or her birthdate… “Peggy Sue Who 12-13-14″… But my favorite has to be to cover it front and back with favorite bible verses, always a good bet.
So anyone else out there doing some handmade goodness this Christmas? What projects are you taking on? Do tell!


Gina, you make the cutest things! Wish I could be there!
LikeLike
After you made the design did you put any type of protective spray or coating on them.
LikeLike