
Li’l Bro’s sad little plain white lampshade was in need of a little update. And lucky for the lampshade, it lives in a house with a crafty girl. With spray glue. And tacky glue. And scissors. And fabric.

Of course, Robert Frost wasn’t lying when he said that “way leads onto way” because now I want to do the chandelier shades in the dining room, too… And maybe add some more panache to Sissy’s shade while I’m at it. *sigh* One project done gives birth to at least two more. What’s a crafty girl to do?
Ahem, but I digress.
Anyhoo, here’s how you can whip up a new shade in just a few minutes.

First grab a little lightweight fabric. I used some from this endbolt roll of navy gingham fabric and cut about 24″ for this 8″ diameter shade (I didn’t measure, I just rolled the shade across the fabric to see how much it would take and cut there).

Then take the lampshade and fabric and your handy dandy spray glue out front and spray all over the outside of the shade with the spray glue. [Notice my wet toe prints? It’s raining today…] Then position the shade at an angle on one side of the fabric and roll it to the other.
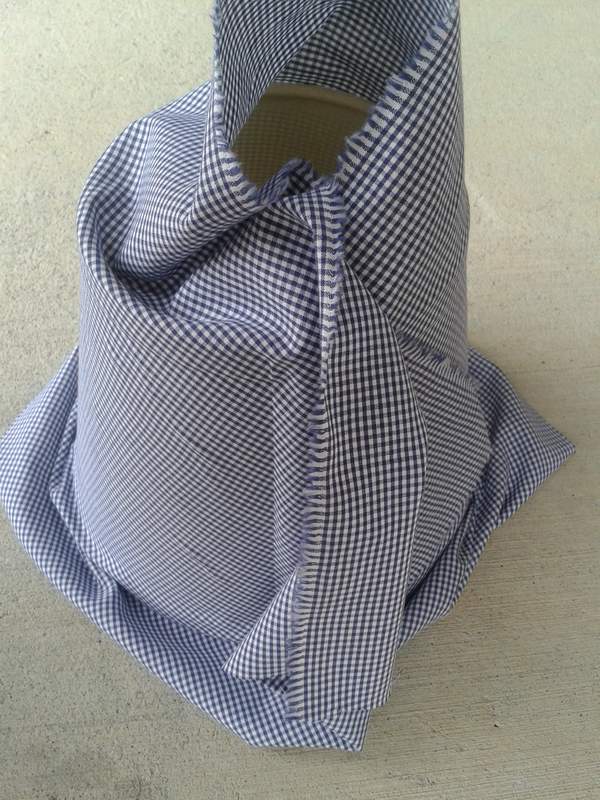
And you’ll end up with something like this… BUT DON’T PANIC! 🙂 Smooth out any wrinkles and move on…
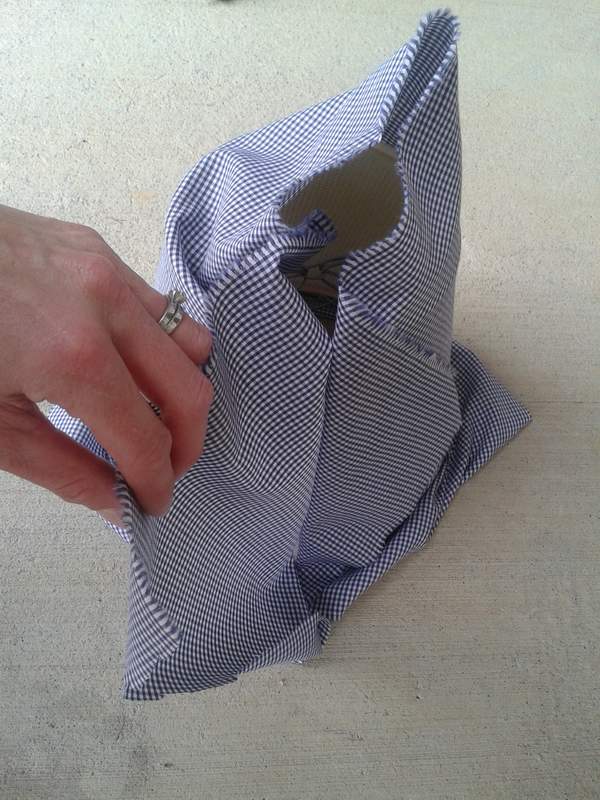
Trim with about a half-inch allowance around the top opening, the bottom opening, and the two seams where the fabric meets.

Where the two edges overlap, smooth one side down onto the shade.

Then whip out your handy dandy glue (this tacky glue is great).

Fold the other side under a bit to form a clean line, and glue that seam down.

Next, add a bead of glue all the way around the bottom of the shade.

And, using your fingers, fold the fabric over the edge and press it down all the way around.

Then repeat that step for the top of the shade, adding a bead of glue all the way around and pressing the fabric down with your fingers.
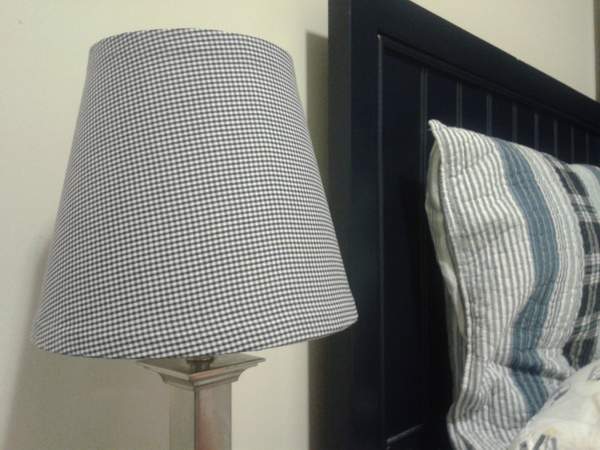
And voila! One new lamp shade in just a few minutes!
But–oh drat–Li’l Bro is napping…

So here: Pretend I’m a lamp.
Alllllllllllrighty then. I guess we know now how I entertain myself when the kids are napping…
…Oh good, he’s up now. Hooray!

*SHING!* [Yes, I made that sound effect in my head when I turned on the lamp.] Ahhh, a nice soft glow…
So, has anyone else out there ever fabric-ed, painted, trimmed, or otherwise bedazzled (or worn??) a lampshade with good (or awful) results? Do tell! Please leave a comment below; I love to read them!
*
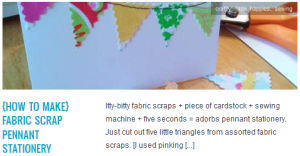
You might also like…


I’ve been wanting to cover the ugly lamp shades in my bedroom with fabric but was worried another layer wouldn’t let light through. I’m glad you posted a pic with the light on. I feel more confident that it will work for me too!! Thanks for the tutorial!
LikeLike