
With Li’l Bro already out of school and Big Bro within striking distance of the summer holiday, I’m already getting into relax chill family time zone. I just love the summers with my babies. And all this summer dreaming got me inspired to make a new piece of jewelry.
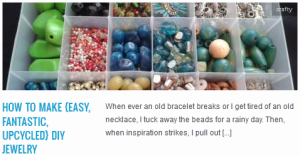
Making your own necklaces and bracelets is so much less expensive than buying them, especially when you do what I do: keep beads from old tired pieces to be reused and reinvented into new pieces!

All you need are a few basic very inexpensive supplies (that can make many, many, many pieces), and you’re off to the races. For this necklace, I used silver beading wire, 4 jump rings, 7 crimping beads, and 1 closure.

As well as my own beads, I grabbed a few silver metal round beads and a 2-pack of charms (a shell and sand dollar) from Michael’s.
Here’s how it came together:

[I have one pair of jewelry making pliers, they have wire cutters and a flat portion that I use to squish crimping beads. You don’t need a million different specialty tools, but this one is very helpful] So to begin, attach two wires to the closure with crimp beads (I use two each for strength).

If you have a bead that has a large enough opening, cover the crimped beads with it. Then thread a small bead and then a larger bead on each strand to spread them.
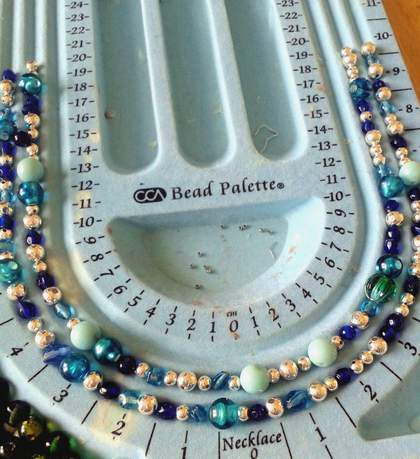
Then just string your beads onto the two strands, one strand at a time. I use a bead palette to lay out my beads, but especially if you are doing a random pattern like I am, you don’t need one (if memory serves, I believe they are less than $5 each, though).

When you get to the ends, use a crimping bead to secure your work.

Then add a big-opening bead and secure the ends with two crimping beads to a loop (or the other half of your closure if you’re using a toggle or other two-piece closure. [I used two jump rings.]

[TIP: If you are using jump rings, do not open them by pulling them apart (making a sort of oval with a gap), but instead pull the the ends up & down as to not compromise the strength and shape of the ring.]

[I added a third jump ring to the two attached to the necklace to form the second half of my closure. And how cute is that lobster claw closure?! Love it!]

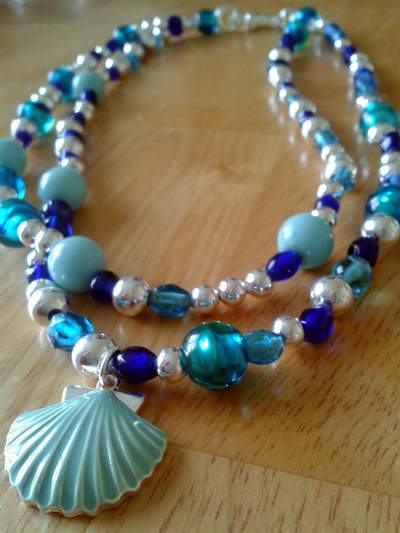
Add the shell charm with one last jump ring, and there you have it! Shazaam! Bring on the summer holiday, the pool, the beach, and easy-paced days relaxing with my precious ones!

[Oh! And the sand dollar ended up on this necklace… for now!]
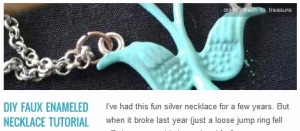
You might like these other jewelry making adventures…


Pingback: Steampunk Octopus Necklace Gets A Spunky Update | CampClem·
Pingback: 6 Summer Necklace Patterns for Beachy Vibes - Artify Pattern·