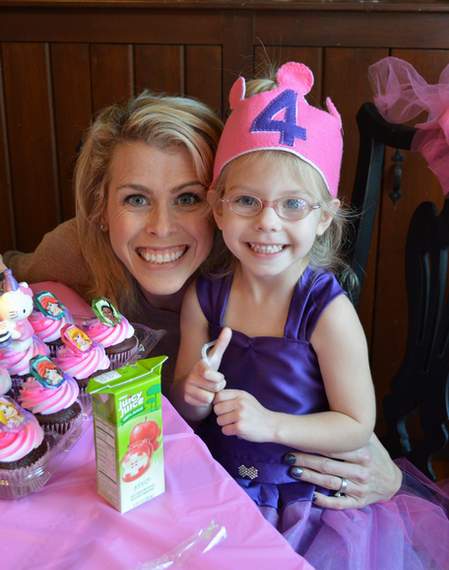
Well, in case you missed a CampClem memo, you know that Sis’s birthday was the big event around here recently. She is now 4 and big and no longer a little girl and definitely not a baby. Just ask her.

When I started talking with her about what sort of party she would like, she chose Doc McStuffins (so I thought of all sorts of cutie games to go with that great theme!)… But alas, she changed her mind to a princess party. No worries! We can do that!
 SO since she loves Hello Kitty and wanted a princess party, the first thing I did as I sat down to design her invitations was to google “Hello Kitty princess.” Whatever theme you decide on for your party, do a web search to find suitable images to use on the invites. One with a white or no background are simplest to work with because they do not tend to need any image editing.
The above is a swatch of wallpaper, of all things! Can you imagine that all over your child’s walls? Wow. A little much for my home… But pErFeCt for some cutie invitations!
 I saved the image then edited it to look just like I wanted it–with the bottom of one skirt married to the other dress.
 I also isolated and saved a section of the wallpaper image to use as extra embellishment on the invitations.
 Once you have your image all ready to go, open up a word document. Size your page accordingly for your invitations (consider envelope sizes and make 1/4 – 1/2″ smaller. [since I wanted to keep it simple, and didn’t need to worry about envelopes, I simple made my 8-1/2 x 11″ page layout landscape orientation and two column format.]
Then insert your image, center orient it, and shrink it down to the size you want, if necessary.
 Add your party information. I included fun little details like “princess attire welcome” and RSVP spelled out (Repondez S’il Vous Plait, which means “please respond”). As well as the who-what-when-and-where of it, I included my cell and email for the RSVP.
 Once all your image(s) and information are added, save the Word document both in Word (so you can come back to edit it if needed) and as a PDF (that way nothing moves if you take it somewhere on a flash drive to be printed!).
 I printed mine at home on our inkjet onto some textured cardstock.
But I wasn’t done there because, hel-lo-o, princesses. These invitations needed a little **bling**. So I texted my next door neighbor at around midnight and asked her if she had any adhesive rhinestones. Um… and chocolate. [She had both. Don’t judge.]
 Thanks to her, I added a little strategic sparkle to each invitation.
 Then I added one last touch: I rolled them up and added a ribbon to each. This worked perfectly since they were being hand-delivered to the guests. What better than a royal scroll to beckon them to a party?!
 See, it really is just that simple to create cute custom invitations at a FRACTION of what stationery places would charge you! HUZZAH!
 So what themed parties would you love to be able to design invitations for? Do tell!