
I had a simple black camera bag. It is fine and functional and practical.
 But it is not happy.
 My strap cover is happy. It is all a mix of Heather Bailey fabrics. It was simple to make, and its functionality is awesome since it has a little lens cover pocket. [You can see my strap tute here and the tweak here.]
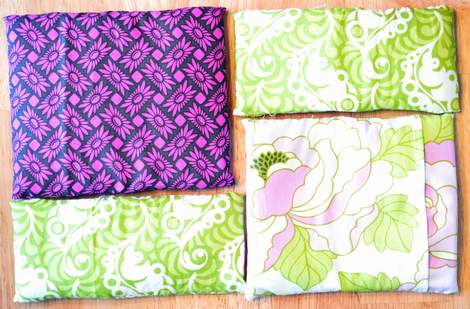
 So I decided to make myself a new camera bag. I grabbed some fabrics from my stash, mostly lovely Heather Bailey fabrics with a bit of navy gingham and grey polka dot thrown in, some bag hardware (which I cut off my hubs’ worn ragged old gym bag when he threw it out like a year ago), and a 1/3 yard x about 80″ sheet of 1/4″ padding/foam ($2/foot at the fabric shop upholstery section). [So basically, this bag only cost me $2 total to make. WINNING.]
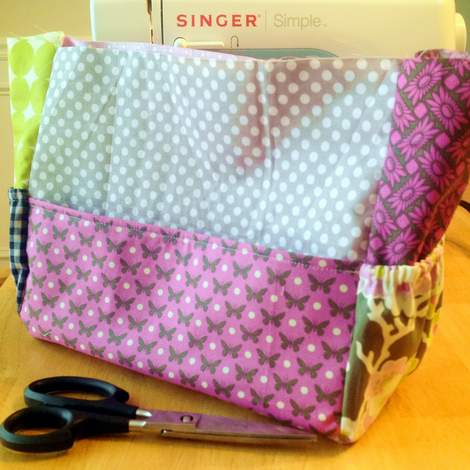 And I just, you know, started piecing together some bag goodness. This is a pretty basic construction–five rectangles, two for sides and one for bottom. But I also added pockets. I reinforced the big ones on the front and bag with a piece of felt, then divided them into pockets by sewing the pockets to the body with a couple of straight stitches, forming three slip pockets on the front and two on the back.
 [Here’s the back with a stitch up the middle to divide the pocket into two.]
 But for either end, I did a non-reinforced pocket cut wider than needed with an elasticated opening.
 So storage and functionality abound!
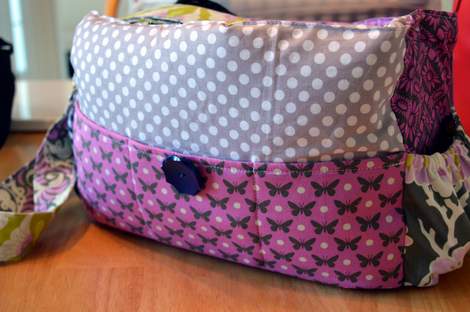
 [Here is a close up of the front pockets… and the big button I later added for the flap top closure.]

Of course, maybe the most important part of this bag is its padding. If it cannot keep my camera safe, it’s not worth much. I cut two loooong skinny 1/4″ thick rectangles and two wide squat rectangles to criss-cross the lining of the bag (so each side has two layers and the bottom has four. [Below this padding, the bottom also has a piece of stiff felt sewn in to reinforce it.]
 Now it’s good and cushioned!
 To add the liner, I made a second bag, slightly smaller, and attached it just like in my simple tote tutorial.
 Then I padded and lined a simple flap (read: big rectangle), sewed a straight seam where I wanted it to fold, and sewed it straight to the bag at the top of the body’s back.
 With the body of the bag complete, I moved on to straps!
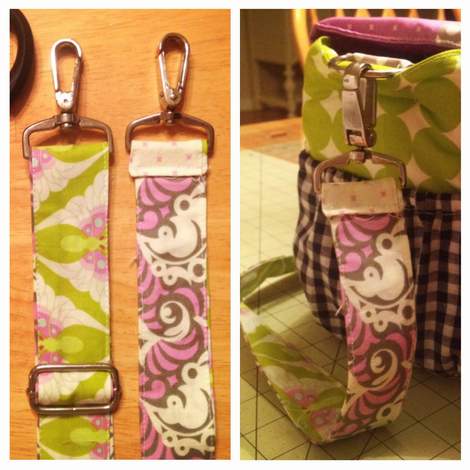 I had this fabulous bag hardware in my sewing drawer for an age just waiting to be put to good use.
 It came off my hubs’ old worn out gym bag that we trashed last year. Yay for a new life for it!
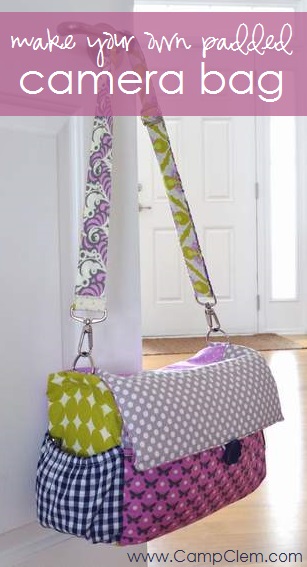
 I made a super simple two-sided strap with a couple of long, skinny Heather Bailey fabric scraps and attached them to the hardware.
 This strap is reversible (just flip it over) and totally length-adjustable.
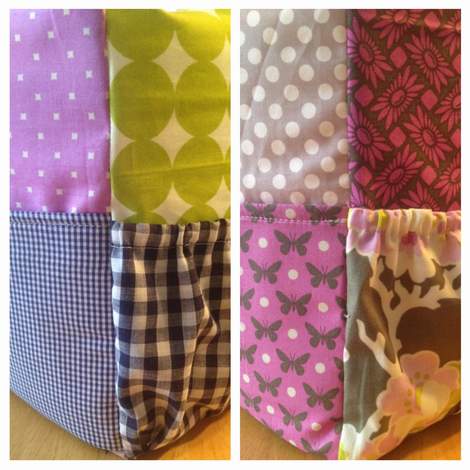 And y’all. I know some of you might think I’m crazy, but for me, all these colors and patterns just completely go. Oh! They make me happeeeeee! 🙂 [From left to right above, you can see the back and side pocket then the front and other-side pocket.]
 With the bag complete, I made four padded dividers with the leftover padding and more scraps.
 They are a simple overlapping closure (the back is shown on the bottom right one). They fill in gaps and secure all my goodies, making sure lenses don’t rub together!
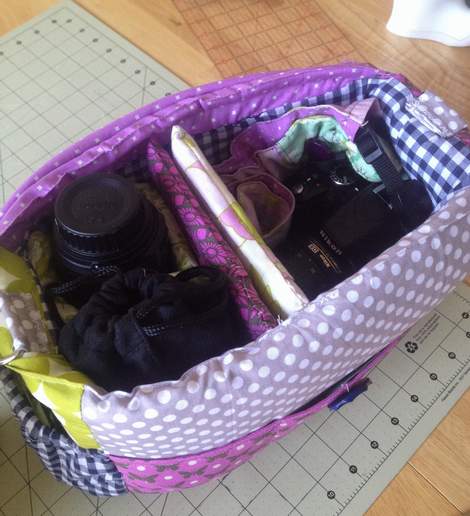
 Okay, yay, so let’s fill this bag with some picture-taking goodness!
 I have my camera body, two lenses (one of which is always on the camera), some random bits and pieces (in the lens bag above), hood, as well as items not shown here like battery charger, extra memory card, and memory card USB.
 So with the removable pads, I can organize my bag however I like, and depending on whether the lens I have on is long or short. [And see the flap top?]
 Here my camera strap is all neatly tucked in…
 …but if I know me, I’m sure it will usually just be loosely curled right on top of the camera.
 I put the charger and USB converter in a side pocket (pack of gum on the other side, and a front slip pocket is a great spot for my cell).
 Here’s an aerial view with the flap closed.
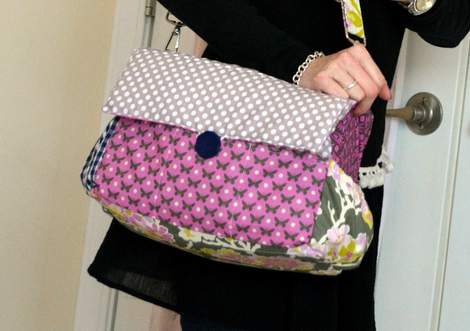
 And here it is in all its glory. Now THIS is a happy camera bag.
 Now I’m ready to go!
 And I can wear the bag on my shoulder or quickly adjust the strap longer to become a crossbody.
 Yay! Happy bag equals happy Gina!! [And many thanks to my adorable 7-year-old cameraman for snapping these pics of me holding my new bag!]
 So who else is going to tackle one of these? C’mon! could be fun, wheeee!


Pingback: Spring Ready Mixed Print Peasant Dress | CampClem·