
Okay, you know how we took scissors to our t-shirts on Monday in the name of making little girl cuteness? Well, I hope you saved those sleeve scraps because we’re going to use them today for another great and simple upcycle craft!
My little boys love to have pouches to carry stuff around and store treasures… Especially when they’re pretending to be pirates… Because then they can call their pouches of treasure booty… Or maybe they just like to say the word booty. I don’t know. [But–ahem–I digress.]

Grab a sleeve off one of the shirts you transformed into a dress or tank on Monday.

Cut off the seam where it was attached to the shirt, and cut it down to the size you want (or leave it big). [The only reason I cut down my size is because I wanted the pouch to hold the best teacher gift evah and fit inside the little giftbox above.] If you leave your pouch the width of the sleeve, just cut a slit from the sleeve opening egde to the sleeve opening seam to allow the ribbon to be threaded through later. And–bonus!–you only need to sew along the bottom since the side will be sewn already from its t-shirt sleeve days!

If you do trim it down, though, make sure not to cut off the side with the sleeve opening seam (held in photo above).

Turn your little sleeve inside out and sew the two non-sleeve-opening sides, making sure not to sew past the sleeve hem at the sleeve opening (you can see where my stitches stop, top left).

Turn your pouch right side out. You will have an opening at the top (that used to be the sleeve opening) and two little openings (the sleeve was originally hemmed).

finally, thread a ribbon or string through the sleeve hem opening using a bodkin.

You could also use a safety pin to pull through your ribbon, but a bodkin is faster and easier, I think. AND they only cost a couple of dollars. [Here’s a link to one if you don’t know what I’m talking about. You can dthem at any fabric store… I got mine at WalMart for about $2 if memory serves.]

And that’s it! One handy dandy drawstring pouch to store all your treasures… and booty.
They are a great little catchall for keys, gum, and a little cash when you head to the pool… The soft jersey makes a great reading glasses or sunglasses pouch… My kids love them to store and carry very important “stuff”…
So I’m curious, tell me: For what will you use yours?!
*
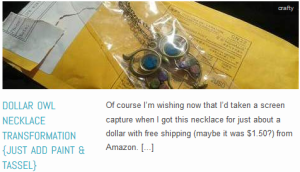
You might like…
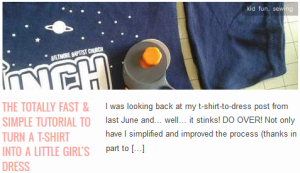


Pingback: The Totally Fast & Simple Tutorial To Turn A T-Shirt Into A Little Girl’s Dress | CampClem·
Pingback: From Child’s T-Shirt To A {stinkin’ cute} Toddler Dress | CampClem·
Pingback: VBS T-Shirt Refashion Time! {sew AND no-sew possibilities} | CampClem·