As you may have read, we are trying to inject a little color here at CampClem. I fell in love with some fabric that works with our neutrals but adds the faded aqua I adore. So I eked out one stool cover & three 22″ flange-edge square throw pillows from the two yards I bought.
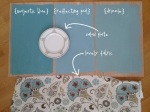
First cut your three pieces of fabric for the pillow. My pillow insert is 20″ square (A), so I cut a 23″ fabric square, enough for the pillow, 1″ flange all-the-way-around, & 1/2″ all-the-way-around seam allowance (B). Then I cut two pieces for the back, one 23″ x 13.5″ and one 23″ x 14.5″. I arrived at the narrow piece (C) measurement by dividing pillow fabric measurement in half (23″ / 2 = 11.5″) then adding two inches. And the wider piece (D) is an inch wider than the narrow one.
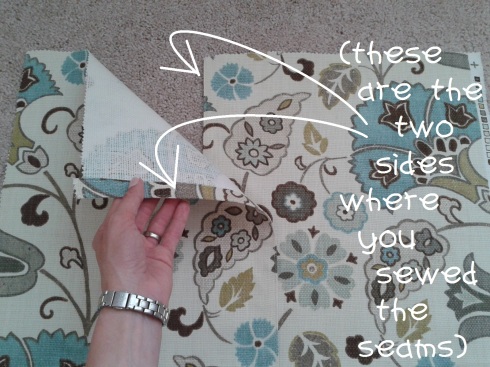
Sew a seam along the two inside edges of your back pieces; these are the edges where the pillow will open up at the back, so sew along the right side of the left (13.5″) piece and the left side of the right (14.5″) piece. Fold (about 1/4″), fold again (about 1/2″), and sew. [Of course, I skip the pinning, but that makes it easier to keep everything in place if you so desire. I just fold as I go.]
The back piece will look like this–the left side just sewn up the right, and the right side just sewed up the left.
The lay the pieces, overlapping where they are seamed (can you make “seamed” a verb? hmm…).
The pieces should overlap enough to make the width 23″. Then lay the front piece of fabric face down on top of these (making sure your pattern on both front and back pieces is facing the right way). Your right sides will be facing each other. Pin all the way around, then sew all the way around about 1/2″ from the edge. [I skip the pinning, of course, but it is easier to keep the pieces in place while you sew if they are pinned.]
Trim off the corners making sure not to cut your stitch.
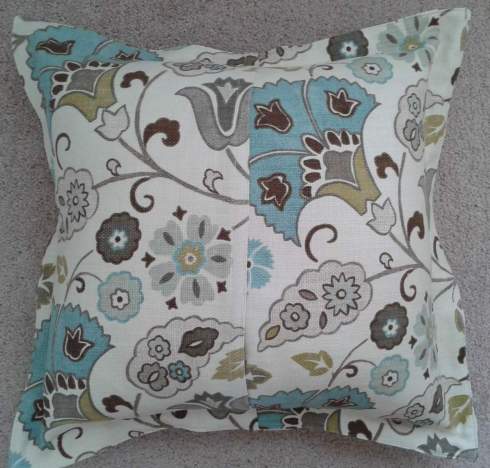
Then turn it right-side-out. Make sure you turn the corners all the way out using the end of a pencil or closed seam ripper if need be. Then sew all the way around right at the edge (this step is optional… I just like the way that looks–crisper edges). Finally, sew all the way around about 1″ from the edge.
Then tuck in your pillow form…
…And flip it over. Shazaam! One new pillow!
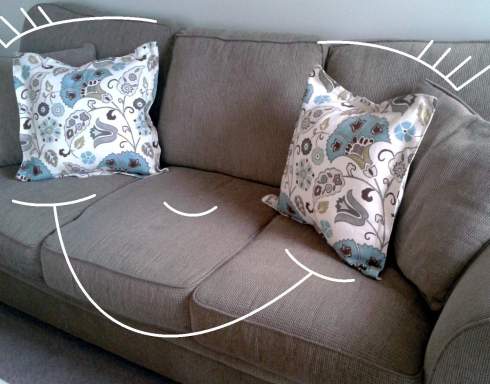
Now do it all again to make a second… Come on, you know you want to make your sad sofa smile!
And thus continues our quest to add a bit of color to our home. It’s baby steps. But it’s progress!
So, what about you? Feeling the urge to add a little bit of color?
*
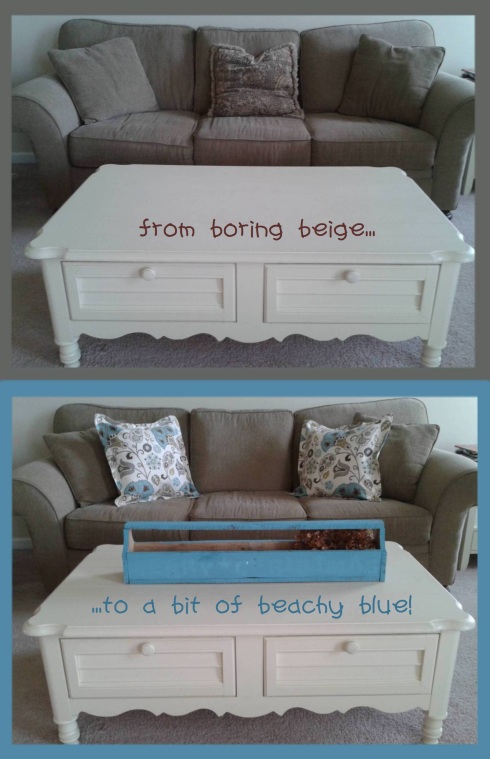
In case you missed it, here are some other spots we’ve added (or are in the process of adding) some faded aqua beachy blue color…








Gonna go buy me a little sewing machine!!! Love it!!
LikeLike
Hooray! Can’t wait to hear what you create!!
LikeLike
Pingback: DIY Tips: How To Paint Furniture | CampClem·
Pingback: Kitchen Furniture Makeover {spraypaint & sandpaper} | CampClem·
Pingback: Onesie To Monogrammed Applique Pillow {upcycle} | CampClem·
Oh my goodness! I did it!!! Thank you for great directions and pictures. Mine isn’t square but, your directions made it easy to adapt to an oblong pillow. This is a birthday present for my grandson. It matches the superhero curtains I made for his room. I can’t wait to give it to him tomorrow!
LikeLike
Thanks for a great tutorial! I hate pinning also (though it gets me in trouble sometimes!) This will be for my grandmother!!
LikeLike